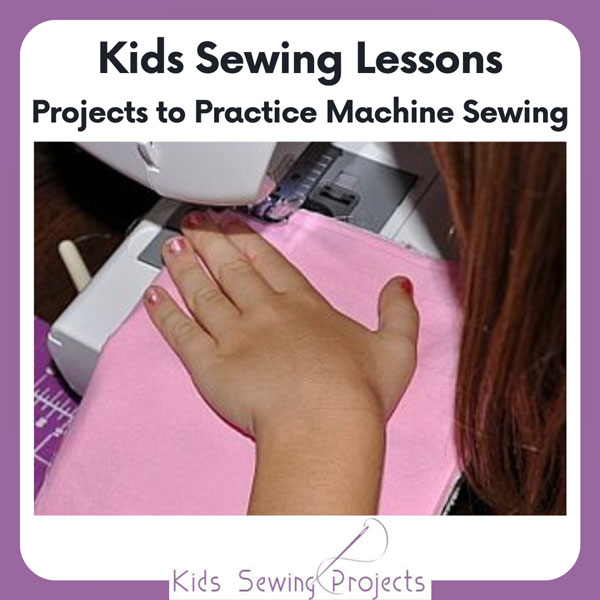
Kids Sewing Lessons
Level 4
In kids sewing lessons level 4 we will work on sewing elastic, using the iron, working with material and starting to use patterns. This is where they really learn and experiment with the sewing machine. Kids are really getting the hang of things now and they want to do more and be more creative.
The recommended starting age for these free how to sew instructions is starting at 10-12 years old, however, each child is different so, the age is a rough guideline. If you are just starting kids sewing lessons, look through our past lesson levels before starting, regardless of age.
Always remember to wash your fabric before sewing, if it is new. See these 10 Tips for Teaching Kids To Sew
You can submit your own kids sewing projects or see others submitted projects below.
Sewing Materials Available

Kids Sewing Lessons 1 - Using the Iron
Explain how to properly use your iron. Kids should use the iron with adult supervision and be cautious to never touch the bottom with their hands or leave the iron lying down on the ironing board. As you start making clothes or using patterns, you will need to use the iron for certain things, such as pressing a seam flat before sewing it to a different piece. You can do a simple project, such as patching a hole in a pair of pants or creating a new shirt with an iron-on transfer.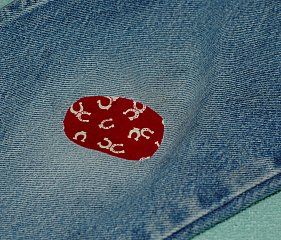
Now try this No-Sew Table Runner using iron-on adhesive.
Kids Sewing Lessons 2 - Using the Seam Ripper
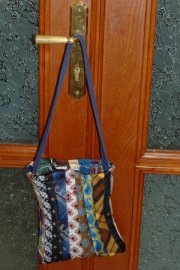
Learn how to use a seam ripper safely and properly. You'll need to practice this a lot. There are times when you will need to rip seams out. Even advanced sewers have to rip things out occasionally. On a scrap piece of material sew several rows of stitches. Use the seam ripper to rip out your seams. It may be frustrating to make mistakes but ripping out mistakes is something everyone has to learn.After practicing, try these Recycle Your Old Tie Projects.
Kids Sewing Lessons 3 - Top Stitching
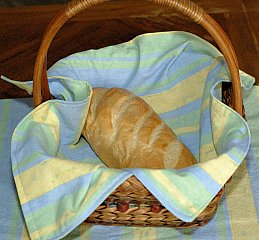
Top stitching is just a basic stitch that is stitched over the top of the fabric. It gives the project a finished look. Do this sewing project for practice.Cloth Dinner Napkins or Bread Cloths
Kids Sewing Lessons 4 - Using Elastic in Waistbands
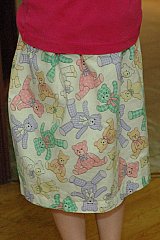
We did a project in the previous lesson using elastic. See Sew a Hair Scrunchy. This time we will make a casing to insert your elastic into and create a waistband. A casing is like a tunnel that you will push the elastic through. Do the following project to practice-Pillowcase Skirt
Kids Sewing Lessons 5 - Darts and Pleats
Darts are a long triangle, with the flat end on the edge of the fabric. Pleats are shaped like a rectangle. Learn how and practice darts and pleats on scrap material.-
How to Sew Darts- Help in learning how to sew darts.
-
How to Sew Pleats- To help understand what a pleat is and how to sew one review this page.
Need a fun hand sewing project?
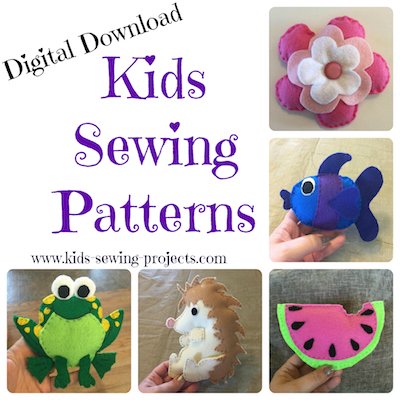
Felt Sewing Patterns!
Kids Sewing Lessons 6 - Decorative Stitches
Different machines do different stitches. Every machine has a manual that will tell you the stitches your machine does. Some stitches are just for decorations, but some can not only be decorative, but actually have a purpose. Some of these may include:- Blind hem stitch, which sews a hem without it being shown.
- Shell Tuck stitch. This sews a lace like edge.
- Elastic stitch sews on elastic so that it can still stretch. Read through your sewing machine manual and discover some of the stitches that can be done. Your machine most likely came with several pressure foots as well, like the buttonhole foot or zipper foot. We will learn about these later on.

Kids Sewing Lessons 7 - Gathering
We learned the gathering stitch in the previous lesson. In this lesson we are going to practice with gathering and sewing pieces together. Once you are making things with patterns you may use this same technique in sewing on a sleeve or something similar to this project below.Find an old shirt and transform it into a dress. (If you are a boy it will still be fun to do this project for a younger sibling or child.)
Kids Sewing Lessons 8- Lay Out and Cut Out
Anytime you buy patterns and sew, you will need to learn to lay out your material and cut exactly. In this project, we will practice laying out and cutting a simple pattern. All you need is a pair of shorts (for you or a younger child) and a simple t-shirt.Shirt into Shorts Project.
Kids Sewing Lessons 9 - Field Trip -Sewing with Your First Pattern
Perhaps you've been to the fabric store before and even bought material for previous lesson projects. Read Fabric Store Field Trip then come back to this lesson.Read and print off the field trip. Pick out a pattern in your size but try to stay away from buttonholes or zippers for now. Look for an elastic waist shorts, lounge pants or elastic skirt. These are good for a first project. In the next level you will be able to experiment further. Right now we want to practice the skills you've learned thus far.
Some good first sewing patterns to try are Kwik Sew or Simplicty patterns. Try #3345 pants or shorts, #3336 skirt or a pajama pants pattern.
On the back of the pattern it will tell you how much fabric you
need for your correct size. It also will tell you the type of
material suggested for that pattern and if you need any notions or
other items. Notions are items to finish your clothing such as
buttons or zippers. The pattern will also tell you if you need
interfacing, bias tape or other items. You can look at other
patterns for examples but save items with zippers, buttons, etc
for our next sewing level.
Pick out the material you'd like to use for your kids sewing
project. Stick to cotton or cotton blends when starting with
patterns. More slippery material usually only ends up in
frustration at this point.
Look at some beginner
sewing patterns.
Kids Sewing Lessons 10 - Following a Pattern
For this first project try a simple pattern. Each pattern comes with a sheet of directions. Included in the directions is how to lay your material out, positioning your pattern pieces and step by step directions to sew your project. This is a great guide to help you with your project so read and follow the instructions. Wash your fabric before using it. This helps the finished project to not shrink.There are arrows on your pattern pieces. These arrows should go with the grain of the material. The grain of the material is the direction the material stretches the most.
If you follow the layout in your pattern instruction it will lay correctly. If not you need to be sure the arrows go with the grain. If you don't, it can affect the way your clothes hang when you wear them and sometimes they'll stretch and wear out differently which eventually makes your project fit strangely.
Also, the arrow line should be measured from the selvage edge and be an equal distance-perfectly parallel to the selvage. You should start with your arrow line and pin it and then pin the rest of the pattern piece, unless it's on a fold and then you pin to the fold first. The selvage edge is the edge of the fabric that isn't cut, it won't fray and is often woven together.
Before you start cutting it out, lay out all your pieces and double check for accuracy. Pin the pattern pieces to your material. When you are sure they are all placed correctly you can start cutting.
You can find some beginning sewing patterns here we recommend.
Kids Sewing Lessons 11 - Experiment with Different Material
Sewing on satin material compared to cotton is a big difference. Satin is slippery and hard to stay in a straight stitch. Find several scraps of material with a variety of textures and sew several rows of stitches on each. Practice stitching and compare what is easiest to work with.See and feel the difference and how the machine will act differently sewing these materials. A great place to find odds and ends of material is in a remnant pile. These are pieces of material that are left at the end of a bolt of fabric and are usually less than 1 yard.
Look back at previous projects and sewing levels for more kids sewing projects from these kids sewing lessons Level 4.
Kids Sewing Projects in this Free Online Sewing Class
Appliqué
Shirt
ProjectBinder Cover
Box shaped basket
Christmas Cone Ornaments
Cloth Basket
Cloth Basket Tray with Ribbon Corners
Cloth Dinner Napkins or Bread Cloths
Easy Sew Curtains
Fairy Costume
Headbands
Jean Skirt
No Sew Table Runner
Pillowcase Skirt
Placemat with Pocket
Prairie Points
Recycle Your Old Tie Projects
Shorts, how to sew
Shirt into Shorts Project
Shirt and Transform it into a Dress
T-shirt Skirts
Tie Pillow
Tie Skirt
Tiered T-shirt Skirt
Wall Hanging
Yoga Skirt
Do you have a Kids Sewing Project to Share?
Your Kids Sewing Project
Share your kids sewing project, instructions or pictures.
Reader's Submitted Projects
Click below to see contributions from other visitors to this page...
Owl Bath Mitt 
Owl Bath Mitt
Skill Level: Intermediate
Supplies Needed:
2 - 8 1/2 X 11 pieces of paper (to draw patterns)
Pencil
3/8 yard of fleece fabric …
Bucks Bag
I made this so my children would have a bag of entertainment while I enjoyed my morning mocha at Starbucks. The beauty of it is that it can be simplified …
Follow Kids Sewing Projects


All rights reserved.
The material on this site is for educational purposes.
Nothing on this page is public domain.
