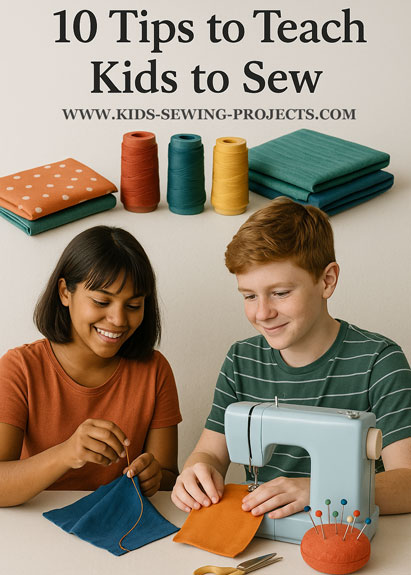
10 Tips to Teach Kids to Sew
Teaching kids to sew can be both fun and rewarding! It's more than just a creative activity+ it helps children build confidence, patience, problem-solving skills, and pride in making something with their own hands.
When kids learn to sew, they gain lifelong skills that teach them independence and resourcefulness. Whether you're a parent, teacher, or club leader, these ten practical tips will help make your sewing sessions enjoyable, productive, and stress-free.
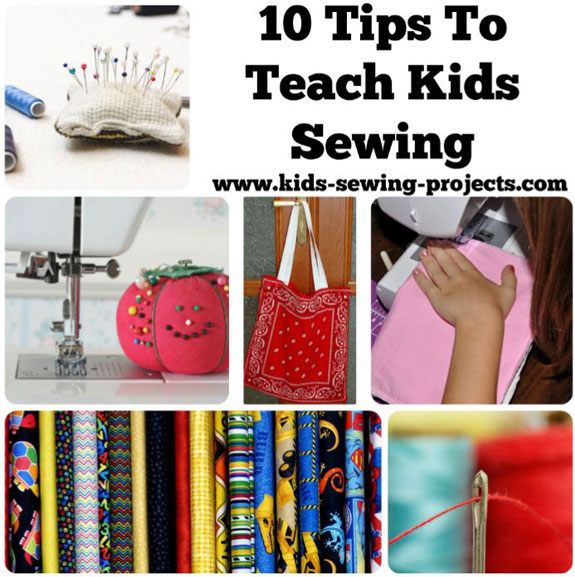
Sewing Materials Available

1. Start with the Basics
Begin by introducing hand sewing before using a machine. Simple projects like sewing a button, stitching small fabric squares into bean bags, or making felt shapes help children understand how sewing works. Hand sewing teaches control, patience, and the rhythm of stitching-all without the complexity of a machine.2. Make Fun Projects
Choose projects that are both fun and achievable. Kids love making things they can use, wear, or gift! Try easy ideas like:- Fabric bookmarks or pencil cases
- Small pillows or stuffed animals
- Doll clothes or superhero capes
- Simple gifts for family members
- See our kids sewing project index for these ideas and more.
3. Repetition
Encourage repetition and practice. Let your child sew on scraps of fabric before starting a real project. Practicing helps them get comfortable with controlling the fabric and guiding stitches straight. Go at your child's pace-progress happens over time, not overnight!4. Mistakes are Okay
Mistakes are part of learning, so keep the mood light and positive. If a seam needs to be redone, show your child how to carefully use a seam ripper and try again. Explain that fixing mistakes leads to a stronger, neater finished product- like making sure the stuffing doesn't fall out of a stuffed animal!5. Take your Time
Sewing is not a race-it's a process of creativity and patience. Give kids plenty of time to finish projects and celebrate small successes along the way. The more you practice together, the more confident they'll become.6. Safety First
Always emphasize sewing safety:- Keep fingers away from the needle.
- Turn off the sewing machine when not in use.
- Clean up needles, pins, and scissors after sewing.
7. Pin and Pin Again
Teach kids how to properly pin fabric pieces before sewing. This keeps seams straight and prevents slipping. Encourage them to remove pins as they sew-never sew over them! It takes a little patience, but it leads to neat, professional-looking results.8. Find the Right Machine
When your child is ready to use a sewing machine, choose one that's simple and durable. Look for a model with basic stitches (straight and zigzag) and easy-to-use controls. Avoid machines with too many complicated features. They can be confusing for beginners.Keep the machine clean, oiled, and dust-free. A well-maintained machine makes sewing smoother and more enjoyable. Learn more in our guide on What to Look for in a Sewing Machine.
9. Prep Fabric
Good sewing starts with good preparation! Teach kids to:- Wash and dry fabric before cutting.
- Iron out wrinkles for smooth seams.
- Double-check pattern placement before sewing.
10. On To Sewing Lessons
Once your child feels comfortable with the basics, it's time to take the next step! Our Kids Sewing Lessons are designed to guide young learners through fun, hands-on projects that build real sewing skills- from threading a needle to creating their first piece of clothing. Encourage your child to keep learning, practicing, and creating. Every stitch brings them closer to mastering this rewarding skill!- Pre-Beginner Lessons - Hand Sewing Basics- Start by learning how to thread a needle, tie a knot, and make simple hand stitches. Practice sewing straight lines and small shapes using felt or fabric squares.
- Pre-Beginner Part 2 - Introduction to the Sewing Machine part 2- Learn how to use your sewing machine safely. Discover how to thread the machine, wind the bobbin, and sew straight and reverse stitches on scrap fabric.
- Beginning Lessons - Curves, Corners, and Confidence- Build on your new skills by learning how to sew around corners, follow curves, and guide fabric smoothly. Youll start simple projects like pillows, pincushions, and fabric bookmarks.
- Sewing Lessons - Patterns and Fabric Skills- Take the next step by working with different fabrics, using an iron to press seams, sewing elastic, and reading simple patterns. Projects might include pajama pants, tote bags, or aprons.
- Intermediate Lessons - Projects with Purpose-Apply all your skills to create clothing and gifts. Learn to finish seams, use decorative stitches, and add zippers or buttons. These lessons help you gain confidence and independence as a young sewer!
Follow Kids Sewing Projects


Copyright, Debbie Madson, Madson Web Publishing, LLC
All rights reserved.
The material on this site is for educational purposes.
Nothing on this page is public domain.

All rights reserved.
The material on this site is for educational purposes.
Nothing on this page is public domain.