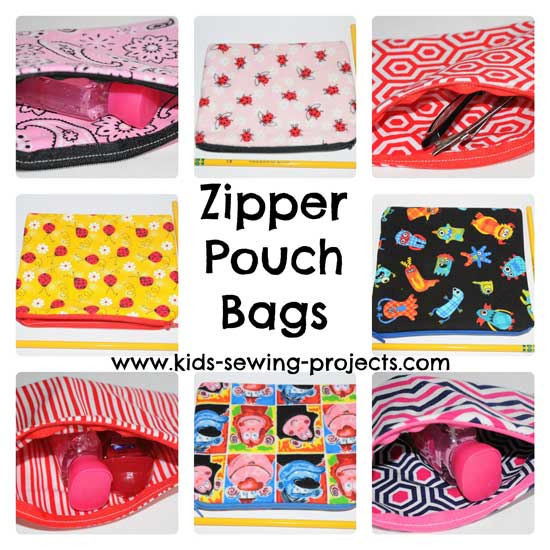
How to Sew a Zipper - Zipper Bag Project
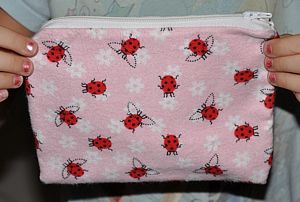
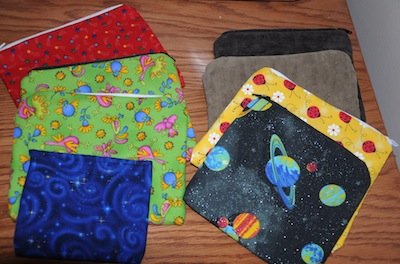
Learning how to sew a zipper is an exciting step for young sewists! This zipper pouch project teaches how to layer fabric, attach a zipper, sew around the edges, and turn the project right-side out. Once they learn this skill, kids can make pencil bags, makeup bags, toy pouches, mini first-aid kits, and more.
Sewing Materials Available

Intermediate Kids Sewing Projects
You will need the following to learn how to sew a zipper bag:Standard Zipper Bag
- (2) fabric rectangles - 8" x 12"
- (1) interfacing piece - 8" x 12"
- (1) 7" zipper
Small Bag:
- Cut interfacing + fabric: 5" x 9"
- Use a 4" zipper
- Cut interfacing + fabric: 12" x 7"
- Use a 6" zipper
Learning How to Make a Zipper Bag
Step 1 for Intermediate Lesson 3 -Prepare Fabric & Interfacing
- Lay the interfacing on the table.
- Place one 8" x 12" fabric rectangle on top, right side facing up.
- Fuse the fabric to the interfacing using an iron, if your interfacing is iron-on. (If not, simply layer and sew around the edges to secure.
- Place the second fabric rectangle on the back, also right side out.
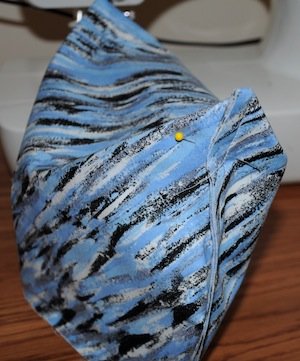
- Pin in the center so your layers don't shift.
**Set aside until the next lesson, where you will learn about adding zippers.
Step 2 for Intermediate Lesson 4 -Attach the Zipper
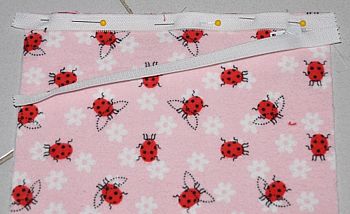
- Fold your layered fabric piece in half so the short sides meet. This creates the top edge where the zipper will go.
- Lay the zipper along the top raw edge. Pin it so the zipper
teeth face inward toward the fabric. If using a separate lining
fabric, the zipper attaches to the outer fabric first.
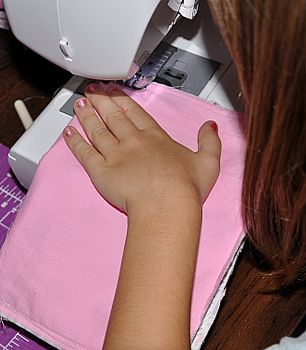
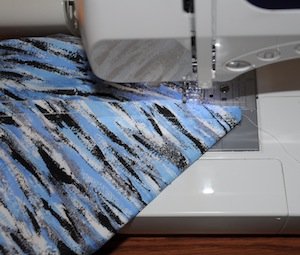
- Unzip the zipper halfway. Begin sewing along the zipper tape. When you reach the zipper pull, raise the needle, move the pull out of the way, then continue sewing.
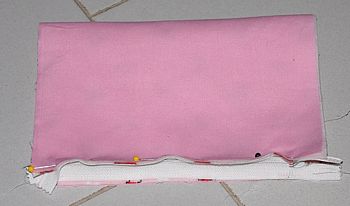
- Fold the fabric so the other raw edge meets the opposite side
of the zipper. Pin the zipper in place. Sew the second side the
same way as the first.
Step 3: Sew the Sides & Turn the Bag
- Pin both side edges together (right sides inward).
- Sew down both sides with a ¼"½" seam allowance.
- Unzip the zipper first or you won't be able to turn it!
- Turn the bag right-side out through the zipper opening.
**If you'd like a smaller bag, cut out interfacing and fabric 5x9 inches and use a 4 inch zipper.
Cut interfacing and fabric, 12x7 for a 6 inch zipper.
Make a Boxed Bottom Zipper Bag
This version gives the pouch a flat bottom, great for bigger bags. You will need:
- (2) fabric rectangles - 16" x 12" (one lining, one exterior)
- (1) interfacing piece - 16" x 12"
- (1) 12" zipper
Create the Boxed Corners
- Turn the zipper bag inside out.
- At the bottom corner, pinch the seam so it forms a
triangle.
- Flatten the triangle so the side seam and bottom seam align.
- Sew straight across the triangle from one side to the other.
- Repeat for the opposite corner.
Turn right-side out and your bag now has a boxed, roomy bottom!
Video Tutorial on Sewing a Zipper
Related How to Sew Pages:
Pleats, ~Zippers, ~Darts, ~Hand Stitches, ~Buttons, ~Sew Curves, ~Sew Corners, ~ Sewing aprons, ~Applique, ~ Sequins, ~Buttonholes, ~French Seams, ~Ruffles, ~Elastic, ~Blanket binding, ~Sew patches, ~Ric Rac, ~Skirts, ~Top Stitch, ~Pillows, ~Stuffed animals, ~Skirt pattern, ~Stretch material, ~Thread a needle, ~Measure a pattern
Related Lessons Projects:
~Sewing Lessons Level 5, ~ Mini Snap Bag , ~Sew a buttonhole, ~Zipper Bag, ~Netbook Carrier,~How to sew a quilt, ~Denim Quilt, ~Rainbow patch blanket, ~Striped Quilt, ~Frayed Edge Quilt, ~Bandanna Quilt, ~Scrap Patchwork Quilt, ~How to tie a quilt, ~Sew a Rug, ~Needle Book
Follow Kids Sewing Projects


[?] Subscribe To This Site

Copyright, Debbie Madson, Madson Web Publishing, LLC
All rights reserved.
The material on this site is for educational purposes.
Nothing on this page is public domain.

All rights reserved.
The material on this site is for educational purposes.
Nothing on this page is public domain.