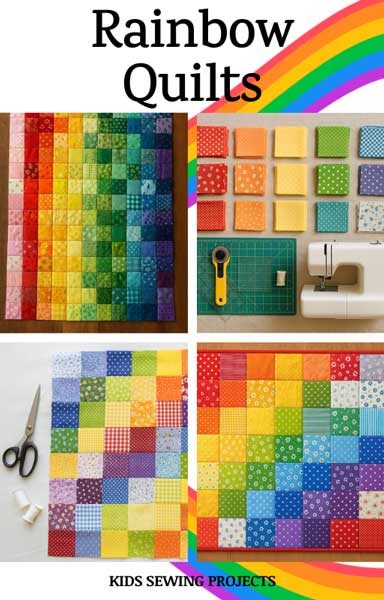
Rainbow Quilt Blanket Designs
Rainbow Quilt Tutorial
This cheerful quilt combines the simplicity of a block quilting with the vibrancy of a rainbow color scheme. Perfect for beginners or kids learning to sew, it creates a colorful patchwork quilt with lots of visual interest.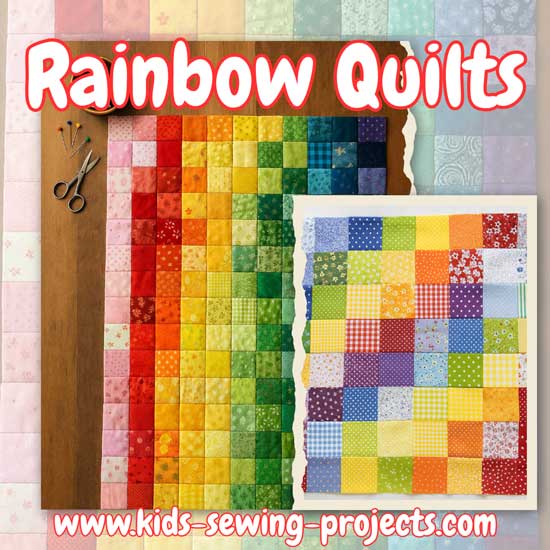
Sewing Materials Available

Materials Needed
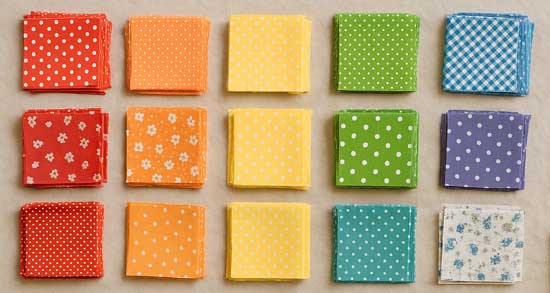
- Fabric Squares: Pre-cut 4" × 4" (or cut your
own). Choose a mix of prints in:
- Red
- Orange
- Yellow
- Green
- Blue
- Purple
- Optional: neutrals or floral scraps for variety
- Rotary cutter, mat, ruler
- Sewing machine & neutral thread
- Iron & ironing board
- Batting (cotton or polyester)
- Backing fabric (solid or print)
- Binding fabric
Step 1: Cut Fabric Squares
- Decide the size of your squares (your sample looks about 4" x 4" before sewing).
- Cut a variety of squares from each color group:
- Red
- Orange
- Yellow
- Green
- Blue
- Purple
- Accent prints (optional)
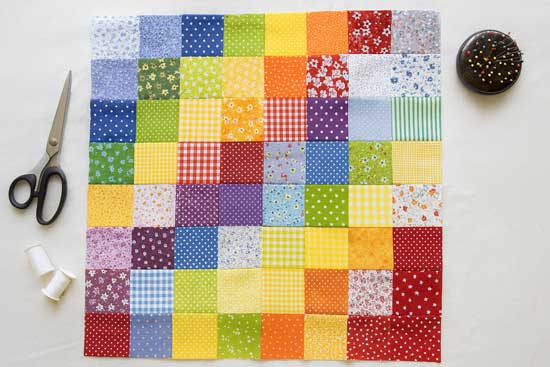
Step 2: Arrange the Rainbow
- Lay the squares out on the floor or a design wall.
- Create a rainbow flow from top to bottom or left to right:
Reds - Oranges - Yellows - Greens - Blues - Purples - Stagger prints and patterns so no two identical ones touch.
- Step back and squint to check the flow of color. Adjust as needed.
Step 3: Sew the Rows
- Starting with the first row, sew squares together with a ¼" seam allowance.
- Press seams in alternating directions (row 1 to the right, row 2 to the left). This helps seams "nest" together later.
- Repeat for all rows.
Step 4: Join the Rows
- Pin row 1 to row 2, matching seams. Sew together.
- Continue until all rows are joined.
- Press seams flat.
Step 5: Make the Quilt Sandwich
- Lay out the backing (right side down).
- Add batting in the middle.
- Place the quilt top on top (right side up).
- Smooth and baste with safety pins or spray adhesive.
Step 6: Quilting
- Straight lines: Stitch in the ditch (right along the seams).
- Diagonal lines: Sew across rows to add movement.
- Free-motion quilting: Swirls or loops if you"re comfortable.
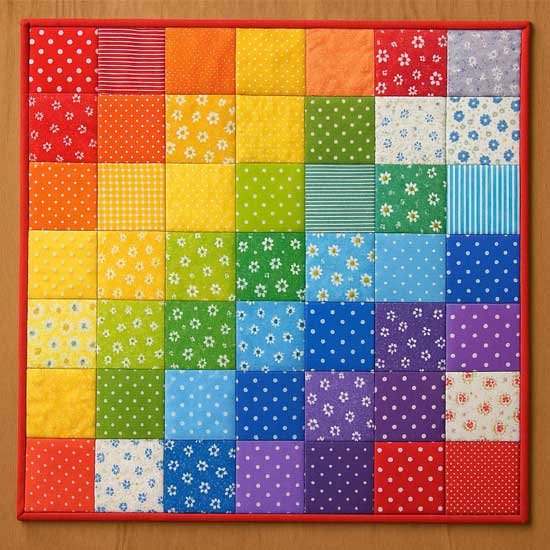
Step 7: Binding
- Cut or buy binding strips (2½" wide).
- Attach around the edges of the quilt.
- Fold binding to the back and hand-stitch or machine-stitch down.
Variation Ideas
- Scrappy Rainbow: Use lots of different red, orange, yellow, etc. fabrics in each block for a true scrap look.
- Monochrome Blocks: Make each four patch from one color family (all blues, all greens, etc.), then arrange blocks in rainbow order.
- Big Blocks: Instead of 4" squares, try 6" or 8" squares for a faster, larger quilt.
- Mini Quilt: Use 2½" squares for a doll quilt, placemat, or wall hanging.
Rainbow Blanket
by Susan Hupkens (The Netherlands)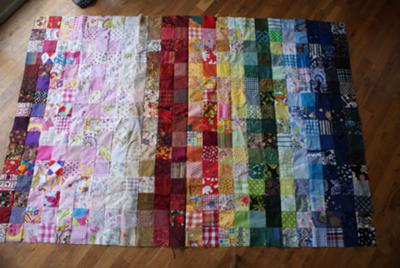
Another project of my 7 year old.
She has patiently sewn together 386 squares of 10x10cm.
As you can see we had a good look together to give the pattern of the squares a nice rainbow like sequence.
From this "piece of fabric" she will now be making a blanket for her bed.
- Cut a lot of squares of 10x10cm (or any other size you like.
- Place all the squares as you want them on a big piece of fabric.
- Make sure all pieces are in the right place (my daughter liked standing on a chair looking at it & making her sister move the pieces)
- Connect all pieces to the fabric with needles
- Start sewing all pieces together. My daughter did it row by row, making sure the order stayed complete. At the end we had 24 rows of 16 squares which were then connected as well.
- Place thick fiberfill on top of the right side of the fabric.
- Place the back on top of that facing right side down.
- Sew around the whole blanket, leaving 20cm open.
- Turn the blanket the right way through the hole.
- Close the gap manually.
- Sew around the edges of the blanket right, 1 square from the side.
Related Lessons Projects:
~Sewing Lessons Level 5, ~ Mini Snap Bag , ~Sew a buttonhole, ~Zipper Bag, ~Netbook Carrier,~How to sew a quilt, ~Denim Quilt, ~Rainbow patch blanket, ~Striped Quilt, ~Frayed Edge Quilt, ~Bandanna Quilt, ~Scrap Patchwork Quilt, ~How to tie a quilt, ~Sew a Rug, ~Needle Book
Follow Kids Sewing Projects


[?] Subscribe To This Site

Copyright, Debbie Madson, Madson Web Publishing, LLC
All rights reserved.
The material on this site is for educational purposes.
Nothing on this page is public domain.

All rights reserved.
The material on this site is for educational purposes.
Nothing on this page is public domain.