- Home
- Quilting
- Scrap Quilt
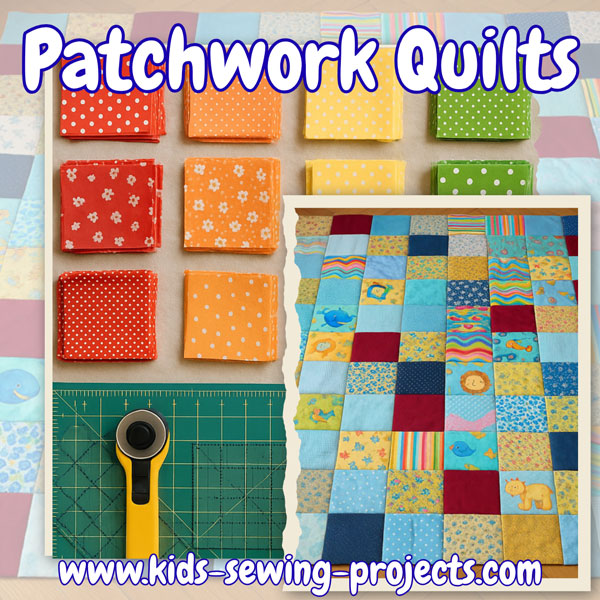
Scrap Patchwork Quilt
How to Make a Quilt with All Your Scrap Fabric
Sewing Materials Available

How to Sew a Quilt Tutorial
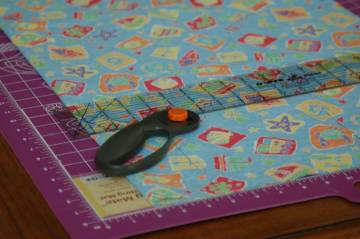
Cut scraps into 5x5 inch squares with a rotary cutter, mat and ruler.Save squares until you have enough to make a quilt. A good size is a twin size quilt which will take 187 squares. Finished size of the quilt is about 55x85 inches. You can simply make this bigger or smaller by decreasing the rows.
For a scrap patchwork quilt you will need:
- Save your scraps or extra fabric you didn't use for these projects or buy remnants from the fabric department.
- Backing fabric, 2 yards
- Batting
- Thread, yarn, or embroidery floss for finishing quilt
How to Sew a Scrap Patchwork Quilt
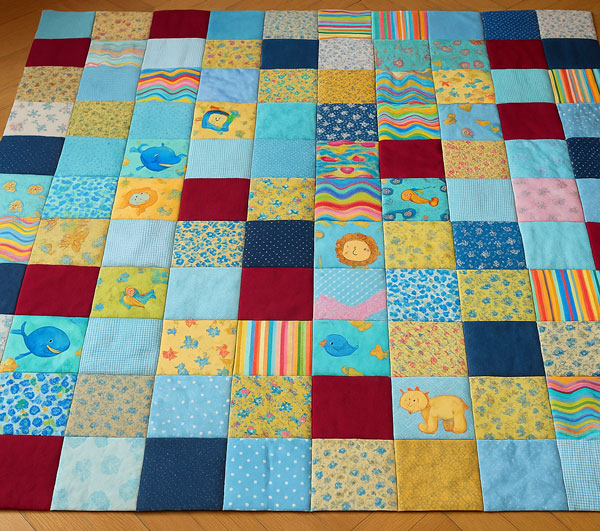
Square size: 5 × 5 in. Twin size quilt uses 187 squares → about 55 × 85 in finished (11 squares per row × 17 rows). Adjust bigger/smaller by adding or removing rows.
Materials
- Assorted fabric scraps (cotton), cut to 5×5 in squares
- Rotary cutter, self-healing mat, acrylic ruler
- Sewing machine, thread, pins or clips
- Batting (twin size)
- Backing fabric (pieced to size)
- Optional: quilting safety pins; yarn/embroidery floss for tying
Step-by-Step
- Cut your squares. Use the rotary cutter, mat, and ruler to cut scraps into accurate 5×5 in squares. Save squares until you have enough for your chosen size.
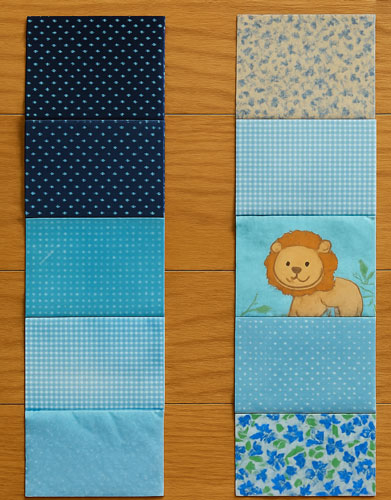
- Sew squares into rows. Choose any layout/pattern. Chain-piece squares end-to-end until each row has 11 squares. Press seams in alternating directions by row. Plan rows before sewing Sew squares into rows Trim rows even
- Join rows into the quilt top. Stack rows in
order (top to bottom). With right sides together, sew Row 1
to Row 2 along the long edge. Add Row 3, and continue
until all 17 rows are attached. Square and
trim side edges.
- Prepare the Backing.
Cut your backing fabric into two equal pieces lengthwise. Sew them together down the long edge to create one large backing panel. Lay the backing on the floor with the right side down, leaving a few extra inches around all edges. - Layer the Quilt
Place the batting on top of the backing. Position your quilt top (right side up) over the batting. Smooth all layers flat and pin securely around the edges and across the surface. - Quilt the Layers
Tie the quilt with yarn or embroidery floss at regular intervals, or hand/machine-quilt through all layers. This step keeps everything from shifting and secures your quilt. - Finish the Edges
You can choose between two simple methods:
Option 1: Hidden Edge Finish
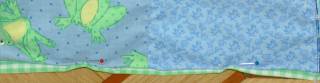
Fold the edges of both the quilt top and backing inward. Pin and sew all the way around. The backing will stay hidden on the back side only.
Option 2: Fold-Over Binding Finish
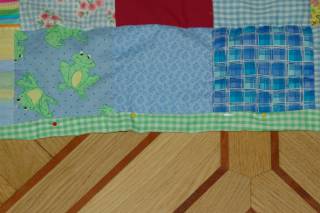
Fold the backing fabric over the edge of the quilt to the front. Fold it down again to enclose the raw edge. Pin and sew in place. This creates a border of backing fabric visible on the front of your quilt.
More Projects using Fabric Scraps
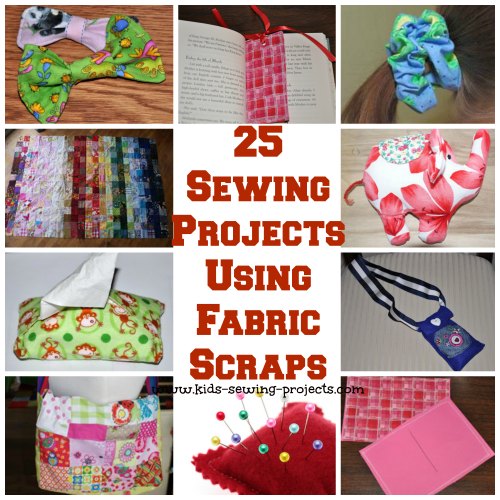
25 Sewing projects using fabric scraps.
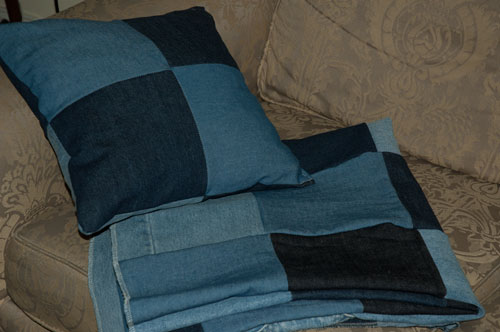
Try an old blue jean patchwork quilt.
Related Lessons Projects:
~Sewing Lessons Level 5, ~ Mini Snap Bag , ~Sew a buttonhole, ~Zipper Bag, ~Netbook Carrier,~How to sew a quilt, ~Denim Quilt, ~Rainbow patch blanket, ~Striped Quilt, ~Frayed Edge Quilt, ~Bandanna Quilt, ~Scrap Patchwork Quilt, ~How to tie a quilt, ~Sew a Rug, ~Needle Book
Follow Kids Sewing Projects


[?] Subscribe To This Site

Copyright, Debbie Madson, Madson Web Publishing, LLC
All rights reserved.
The material on this site is for educational purposes.
Nothing on this page is public domain.

All rights reserved.
The material on this site is for educational purposes.
Nothing on this page is public domain.