Sew Christmas Ornaments
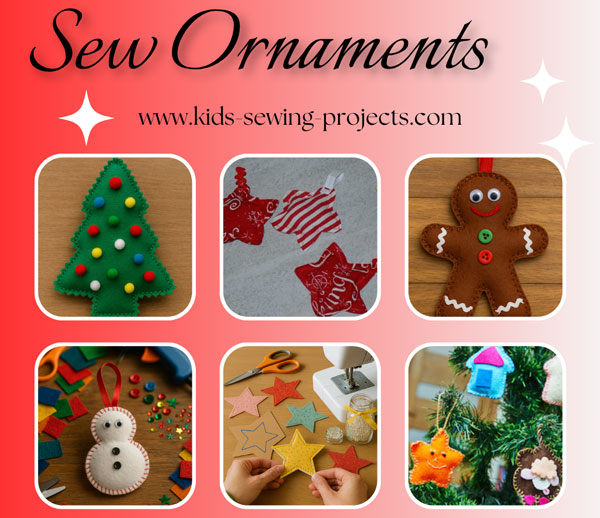
Many people like to sew Christmas ornaments for their own decorating purposes or to give as gifts. The beauty of homemade ornaments is that a sewing machine is not always necessary so the entire family including kids of various ages can participate in the activity.
Some are easy to do and are quite popular, while others take a little more time and effort, but the result will be worth it. You do not need a lot of money for these ornaments; in fact, sometimes using things you already have at home make wonderful pieces. Change the fabric you use for different holidays!
Sewing Materials Available
Sew Your Own Ornaments - Tutorial
Create festive handmade ornaments perfect for your tree, gift tags, or stocking stuffers. Use your leftover fabric and cookie cutters as patterns for fun and personal holiday decorations.
Supplies Needed:
- Scraps of fabric (felt, cotton, flannel work great)
- Ribbon or string (for hanging)
- Batting or fiberfill (for stuffing)
- Cookie cutters (shapes like stars, snowmen, gingerbread men, trees)
- Pencil or chalk
- Scissors
- Sewing machine (or needle and thread)
- Hot glue (optional)
- Embellishments: googly eyes, buttons, sequins, markers, etc.
Instructions:
1. Trace the ShapeUse a cookie cutter to trace your shape onto your fabric with pencil or chalk.
Tip: Fold your fabric in half so you're cutting both front and back at the same time.
2. Cut the Fabric
Cut out both layers of the fabric for each ornament.
3. Stitch the Edges
Use a zigzag stitch around the edge of the ornament shape, leaving a 1-2 inch opening at the top or side.
4. Stuff the Ornament
Lightly stuff the ornament with batting or fiberfill until it is slightly puffy.
5. Sew Shut
Sew the opening closed using the same zigzag stitch.
6. Trim the Edges
Use pinking shears or scissors to trim around the outside, leaving about 1/4-1/2 inch of fabric for a decorative edge.
7. Attach a Hanger
Cut a piece of ribbon or string, form a loop, and:
- Sew it into the top seam OR
- Hot glue it to the back of the ornament
How to Sew Felt Ornaments
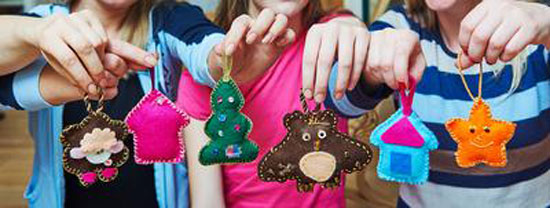
- Using different colors of felt, cut out different designs you'd like to sew. (using cookie cutters and drawing the outline works well)
- Cut two patterns for each project. Design the front of your project and sew any embellishments or extra felt pieces on by hand sewing as you'd like.
- Take the two matching felt pieces and hand sew along edges. Leave a hole open to stuff ornament. Once ornament is stuffed, hand sew hole shut.
- Thread a piece of ribbon or string on a needle and put through top of your ornament. Remove needle. Tie into a knot and it's ready to hang.
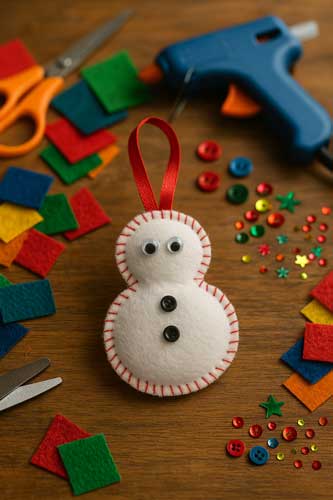
To make a snowman ornament, use white felt and follow the directions above. Then glue on googly eyes, buttons and other decorations.
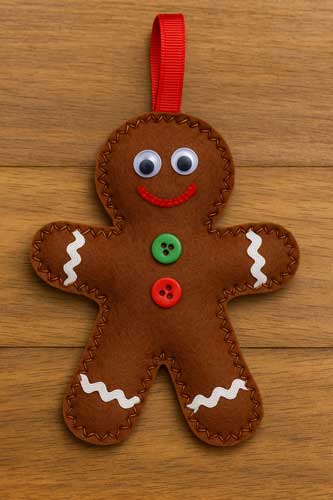
For a gingerbread man, use brown felt and add decorations to finish your ornament.
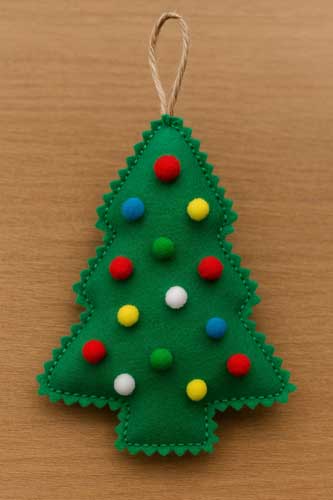
For a Christmas tree ornament use green material and glue small pom poms on for decorations.
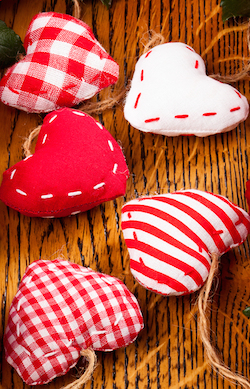
You can change the ornaments to fit different holidays by changing the shapes and fabric!
More Ornament Ideas Using Felt & Cookie Cutters
Here are more fun ornaments you can create using the same felt sewing method (trace → cut → sew/glue → stuff → decorate → hang): (find these ideas & more in our Felt Ornaments Sewing Camp)- Heart Ornament
Use red or pink felt. Add sequins, embroidered initials, or lace edges. Great for Christmas or Valentine's Day. - Stocking Ornament
Use red felt with a white cuff. Add names, candy canes, or stitched snowflakes. - Bell Ornament
Use gold or silver felt. Sew on a mini jingle bell at the bottom. Decorate with ribbon or bows. - Candy Cane Ornament
Use white felt with stitched or glued red stripes. Add glitter or sequins. - Mitten Ornament
Use fleece or flannel. Add a fluffy cuff and stitch snowflakes or stars. - Star
Ornament
Use gold, silver, or white felt. Decorate with beads, buttons, or glow-in-the-dark paint. - Reindeer
Ornament
Use brown felt. Add googly eyes, a red pom-pom nose, and tiny felt antlers. - Gift Box Ornament
Use bright felt colors. Add ribbon, bows, or stitched initials. - Penguin
Ornament
Use black, white, and orange felt. Add a scarf from ribbon or fabric scraps. - Snowflake
Ornament
Use white or icy blue felt. Add pearls, glitter glue, or embroidered details.
More Star Ornaments
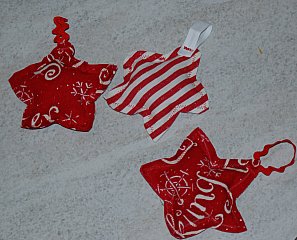
For homemade stars for example you will need: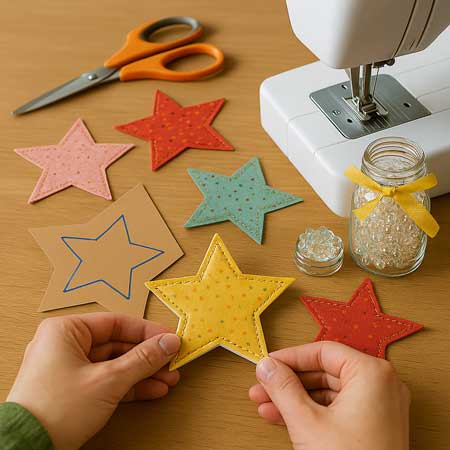
- Construction paper
- Fabric in various colors
- Scissors
- Markers or pens
- Glue
- Sewing machine
***Cutting out stars from old Christmas cards and using them as the base instead of construction paper is another option. To match sizes, use the stars to make outlines on the fabric.
The paper or old cards give the star a stiffer and sturdier look. Once you sew the two fabric stars together with the paper sandwiched inside you can decorate with beads, trim, etc.
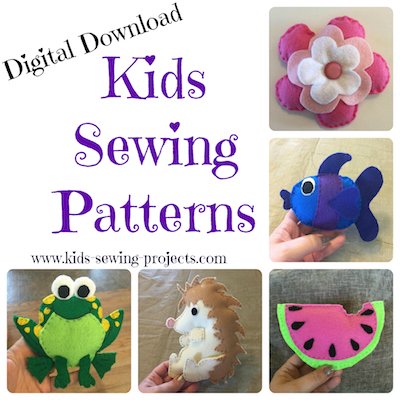
Need a fun hand sewing project?
Felt Sewing Patterns!
Different Ball Ornament Projects
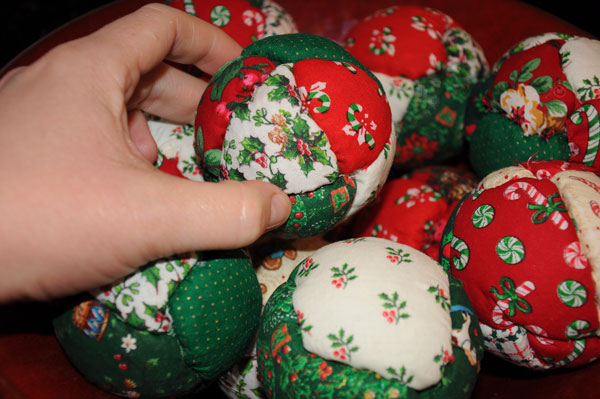
1. For those who may be too young to sew Christmas ornaments, get some small pom- poms and glue festive colored fabric onto them, cover with glitter or tiny stars for an easy to make, yet pretty ball ornament.2. Ball ornaments are easy to make by covering a Styrofoam ball with fabric, and gluing beads and anything else you may want to use to decorate it. Cut the fabric to the right size and hand sew into a bag, drop in the ball and tie off the top with a string. This string can then be given a loop for hanging on tree branches. To make it more attractive, you can glue beads, feathers, glitter and other items onto the fabric.
3. Another option is to add ribbons or strips of fabric onto a Styrofoam ball. Start at one end of the circle and attach strips by pushing straight pins with flat heads at the end of the ribbon. Continue all around until circle is covered. Add any embellishments you'd like to finish them off.
4. This method is using strips or small pieces of scrap material and pushing edges in with a tip of a pointed nail file.
Many people find that they can sew Christmas ornaments at minimal cost and best of all, many items can be done in a few hours or less. Whether you want to give them away, sell or keep them for your own use, these pieces can help create the festive spirit the holiday deserves.
Need more homemade Christmas sewing ideas.
Related Beginner Projects:
~Pre Beginner Lessons, ~ Sew Bean Bags, ~ Cell phone holder, ~Sew ornaments, ~ Easy Snowman Craft, ~ Easy Dishtowel Apron, ~ Felt Organizer, ~ Fleece Hat, ~ Heating Pad, ~ How to sew a pillowcase, ~ iPod holder, ~ Potpourri pillows, ~ Pillow with Pocket, ~ Pillowcase Apron, ~ Pin Cushion, ~Rectangle shape pillow, ~Traveling Sew Kit, ~Stuffed Kittens, T Shirt Fringe Bag ~Tie Belt, ~ Stuffed Fatties Ball Animals,, ~Mouse Cat Toy, ~Hand Sew Potholder,
Follow Kids Sewing Projects


