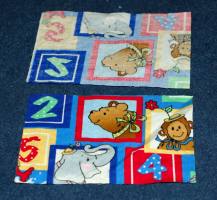
Rectangle Pillow

You will need the following to learn how to sew a pillow
- 2-17 x 13 inch rectangles of fabric
- Decorative button
- Batting
For this Rectangle Pillow you can include a button for
decoration for added practice in hand sewing.
Sewing Materials Available

Sewing a Pillow
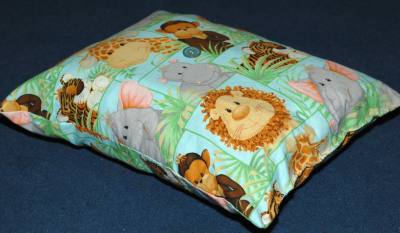
Cut 17x13 rectangles out of the fabric you are using. If you cut
your material on a folded edge you will only be sewing 2 sides. If
you'd like to add a button for decoration sew a button in the
middle of one rectangle on the right side. Place right sides
together.
Example of right side on bottom and wrong sides of material on top.
Start in one corner and stitch to the end. Don't forget to do your backward stitch after the first few stitches and at the end. Take off machine and cut the threads. Sew the next side and stitch to the end. Do three sides leaving a short end open. Turn pillow right side out. Stuff with batting or stuffing.
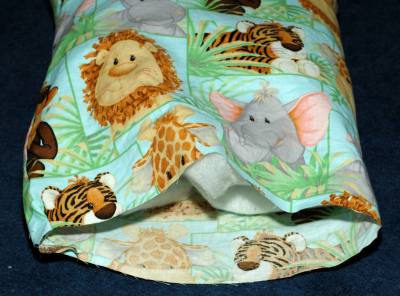
Stitch the end closed by hand stitching. (we will learn how to do corners in the next level.)
Teddy Bear Sleeping Bag and Pillow
by Kayleigh Capps (Mt. Juliet, TN, USA)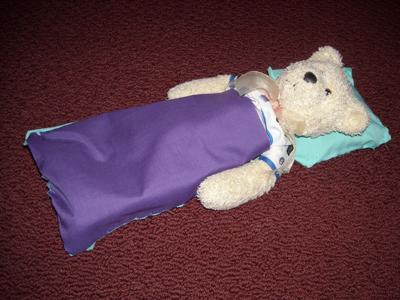
To make a sleeping bag for your Teddy Bear, take a piece of
fabric 1-2 inches longer and wider than your bear. Round the
corners on one end. Take another sheet of fabric 1-2 inches
shorter than the bear and the same width as the other sheet. Hand
sew together.
To make a pillow, take 2 sheets of fabric bigger than your bear's
head. Hand sew together and stuff with left over fabric.
Now you have a pillow and a sleeping bag for sleepovers with
friends.
Related Beginner Projects:
~Pre Beginner Lessons, ~ Sew Bean Bags, ~ Cell phone holder, ~Sew ornaments, ~ Easy Snowman Craft, ~ Easy Dishtowel Apron, ~ Felt Organizer, ~ Fleece Hat, ~ Heating Pad, ~ How to sew a pillowcase, ~ iPod holder, ~ Potpourri pillows, ~ Pillowcase Apron, ~ Pin Cushion, ~Rectangle shape pillow, ~Traveling Sew Kit, ~Stuffed Kittens, T Shirt Fringe Bag ~Tie Belt, ~ Stuffed Fatties Ball Animals,, ~Mouse Cat Toy, ~Hand Sew Potholder,
Follow Kids Sewing Projects


All rights reserved.
The material on this site is for educational purposes.
Nothing on this page is public domain.
