Pre Beginner Sewing Lessons -Level 2
For these pre beginner sewing lessons and projects the age suggestion (7-8 years old) is just a rough guess. Each child is different, so judge accordingly. Keep in mind if you are just starting to sew, but older than the suggested age, you may want to go back and look at previous age groups. Each lesson has an easy project to practice the skill they learned.
Sewing Materials Available

Free Online Sewing Classes
In the Pre
Beginner
Lessons Level 1 we learned some basic hand stitches and
practiced hand sewing. In this level we will move up to using the
machine.
See these 10 Tips for
Teaching Kids To Sew
Pre Beginner Sewing- Lesson 1 - Smaller Stitches
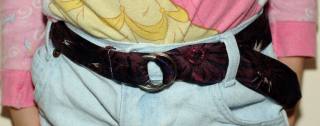
Keep practicing hand sewing and getting the stitches smaller and more even. Check back at Pre-Beginner Level 1 - Lesson 4 and 5.After practicing, move on to this tie belt project.
Pre Beginner Sewing - Lesson 2 - Mending
Gather items of clothes that need mending. These can be simple things such as a hole in a sock or a hole in a shirt and practice mending.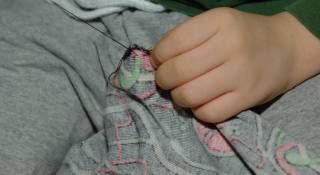

Pre Beginner Sewing Lesson 3 - How to Sew Buttons
To practice how to sew a button you will need:- Buttons
- Square of scrap material
- Needle and thread
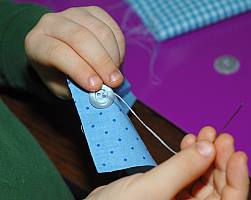
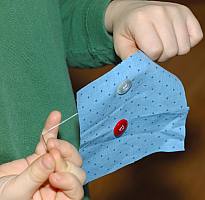
Now try these button flowers for practice.
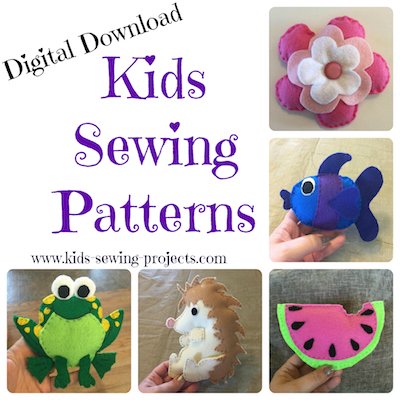
Now try some Felt Sewing Patterns!
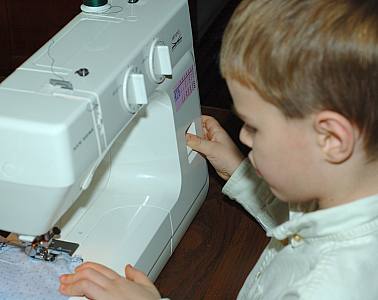
Pre-Beginner Sewing Lesson 4 - Introduce the sewing machine
Introduction to the Sewing Machine
Some points to review when teaching how to use a machine are:
- Where is the power button
- How the sewing machine works inside
- Introduce safety here, such as keeping your hands away from the needle
Take a look at the machine manual and review what each part of your machine is. Then move on to the next lesson.
Lesson 5 - Threading a Needle on the Sewing Machine
Following the sewing machine directions learn how to thread your machine. Some machines are different so it is best to follow the manual. My machine has numbers to guide the threading process. Threading a needle might be frustrating for awhile, but have them keep trying, once they get it, they'll be really proud of themselves for mastering it.*For additional safety, turn your machine off when threading.
Pre-Beginner Sewing Lesson 6 - Threading a Bobbin
Again following your machine manual, add thread to your bobbin and thread it to the machine. The video above will help also.The video above will also show you how to thread your bobbin.
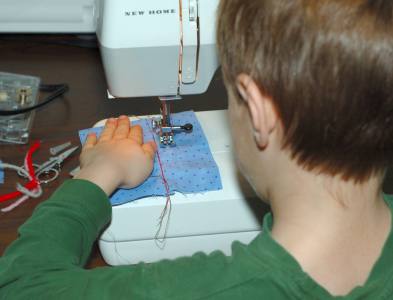
Pre Beginner Sewing Lesson 7 - Practice Sewing on the Machine
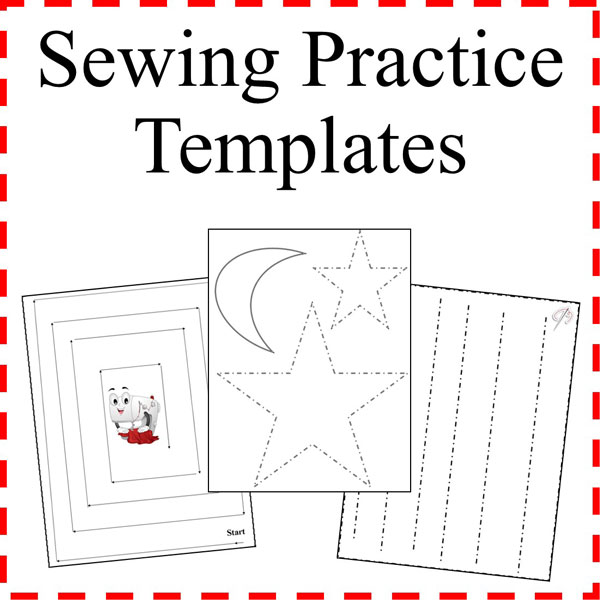
Using an old needle, practice sewing, without thread on a piece of paper. Practice sewing straight lines and turning corners.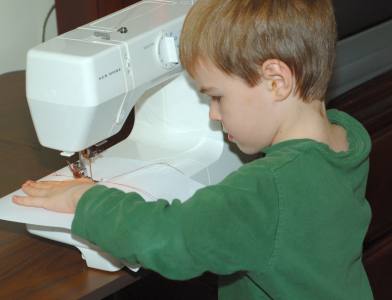
 This
will
dull your needle and affect sewing on fabric, so, use an old needle
or replace your needle after this lesson. (Dull needles can catch
and pull on material when using the machine)Make
sure
you stay close by and observe your child. Make sure they keep their
hands away from the needle.
This
will
dull your needle and affect sewing on fabric, so, use an old needle
or replace your needle after this lesson. (Dull needles can catch
and pull on material when using the machine)Make
sure
you stay close by and observe your child. Make sure they keep their
hands away from the needle.We have sewing templates to practice sewing lines in our Curriculum Set.
Pre Beginner Sewing - Lesson 8 - Straight Stitch
On a piece of scrap material, sew a straight stitch with the sewing machine. Practice as much as you'd like then move on to the next step. At this stage, we are just practicing a straight stitch not making corners or back-stitching.Use the ½ or 1/8 inch lines to the side of the presser foot to guide you. Try to stay straight with those lines.
Kids Sewing Lessons 9 - Sewing Backwards
You'll need to know the backwards stitch for two main reasons.- To secure your stitches, you will start sewing and then sew
backwards for a few stitches. This will secure your ending
stitches and keep them from coming loose.
- Sometimes while you're sewing you'll veer off your sewing line. You need to learn the right way to get back to your sewing line. You do that, by sewing backward to where you started to veer off and then continuing forward on the correct line.
Pre -Beginner Sewing Projects
Once you've practiced as much as you'd like, move on to these Pre- beginner sewing projects.For each of these projects we are not making corners at this point. Sew one side to the end, take it off, sew the next side, etc.
Use cotton or cotton blend material, nothing slippery or thick at this point. Always launder your material you are using before starting your project.
Use a plastic quilting ruler or tape measure to measure the exact length and width. You may find a fabric pencil helpful to draw the lines with a ruler then cutting out your project.
Free Sewing Projects
BeanbagButton Flower
Cell Phone Holder
Christmas Ornaments
Decorate an Easy Snowman
Dishtowel Apron
Envelope tutorial
Felt Organizer
Fleece Winter Hat
Heating Pad with Pillowcase
How to Sew a Pillowcase
iPod Holder
Mini Pin Cushion
Mini Potpourri Pillows
Pillowcase Apron
Pin Cushion
Rectangle Pillow
T Shirt Fringe Tote Bag
Tie Belt
Tissue Pouch
Do you have a Pre-Beginner Project to Share?
Your Kids Sewing Project
Share your kids sewing project, instructions or pictures.
Reader's Submitted Projects
Click below to see contributions from other visitors to this page...
Catherine's Polka Dot Heart Potholder 
I hope you like this project! This project can be used for real cooking, but if you want to you can use it for decoration, gifts, etc. It is your own decision. …
Favorite Stuffed Animal Project 
1. Make a template of your favorite stuffed animal by outlining it at least 1/2 inch from the sides (an animal that can lay flat with its legs out and …
Travel Sewing Kit
With just a few inexpensive supplies, you can make this little sewing kit. They are great to keep in a car while traveling, stick one in a suitcase, or …
Stuffed Kittens
Using scrap material, cut out an approx. 16" square. Fold in half with right sides facing and sew two sides together leaving one short side open to stuff. …
Sew Paper Doll Not rated yet
Felt
Embroidery floss of various colors
any embellishments you'd like
On a sheet of paper draw an outline of a person's body.
Cut out and use as …
Follow Kids Sewing Projects


All rights reserved.
The material on this site is for educational purposes.
Nothing on this page is public domain.
