Cloth Basket Tray
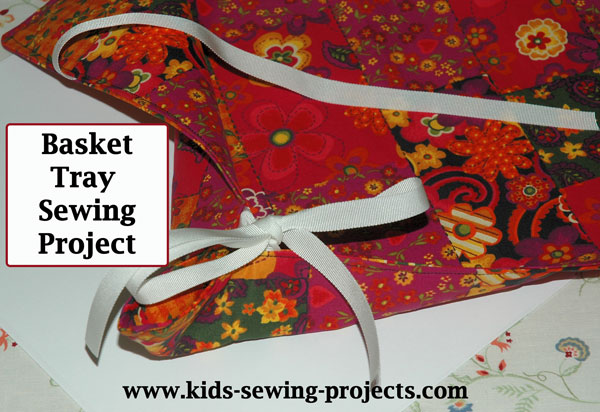
Use this Cloth Basket Tray for a bread basket, store your magazines or mail or wherever you could use it. It would even work well in the bathroom to store hair accessories.
Sewing Materials Available

Cloth Basket Project
You will need:- 2- 14"x19" rectangle cut out of coordinating fabric or 2 rectangles of the same material
- 2- 14"x 19" rectangles cut out of interfacing
- 8 - 12" strips of ribbon
Sewing Basket Tray Instructions
- Iron interfacing to each rectangle.
- Place a ribbon 4 inches from each corner. Pin the ribbon on
the right side of the material with the end of the ribbon along
the outer edge so it will be sewn into place. See picture.
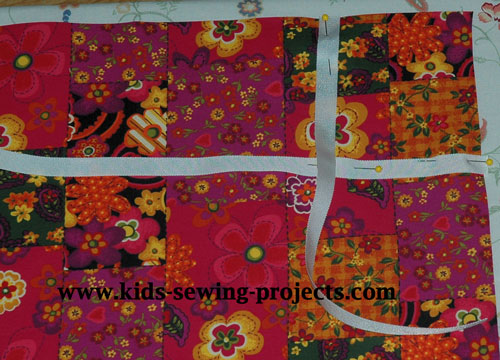
- Place rectangles right sides together and stitch all edges taking out pins and catching the ribbon in the seam while you sew. Leave a 3 inch opening for turning right sides out.
- Turn right sides out and iron flat.
- Turn opening in 1/4 inch and top stitch all around edges making sure ribbon is out of the way.
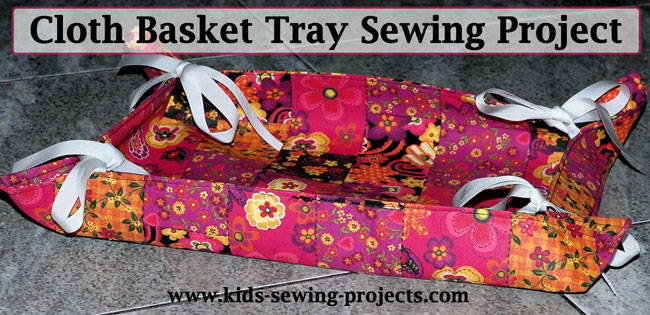
- Bring corners together and tie ribbon in each corner.
Related Kids Lessons Projects:
~Kids Sew Lessons, ~Applique Shirt Project, ~Bath Mitt, ~Binder Cover,~Christmas Cone Ornaments,~Cloth Basket,~Cloth Basket Tray with Ribbon Corners, ~Cloth Dinner Napkins or Bread Cloths,~Easy Sew Curtains,~Fairy Costume, ~Headbands,~Jean Skirt,~Pillowcase Skirt, ~Prairie Points,~Sew Purse, ~Recycle Your Old Tie Projects,~Reversible HeadBands, ~Shirt into Shorts Project,~Shirt and Transform it into a Dress,~Tie Pillow, ~Tie Skirt,~Tiered T-shirt Skirt, ~Wall Hanging, ~Shorts, how to sew, ~Entertainment Bag
Follow Kids Sewing Projects


[?] Subscribe To This Site

Copyright, Debbie Madson, Madson Web Publishing, LLC
All rights reserved.
The material on this site is for educational purposes.
Nothing on this page is public domain.

All rights reserved.
The material on this site is for educational purposes.
Nothing on this page is public domain.