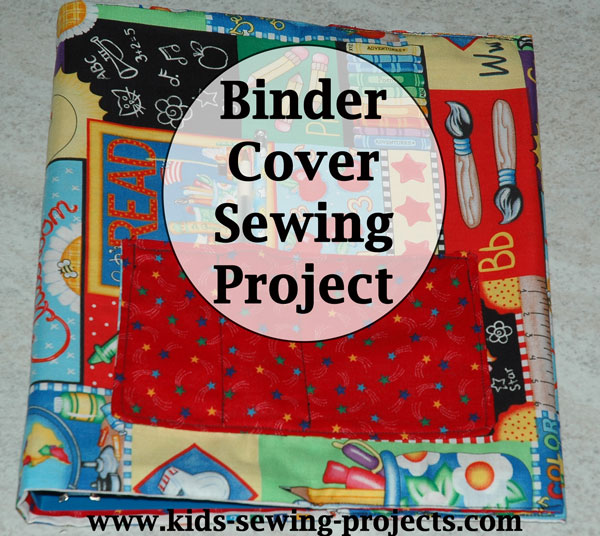
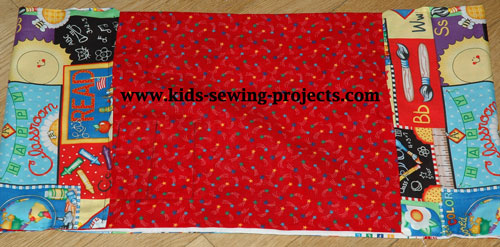
Binder Cover
How to sew a cover for your three ring binder. This is one of our favorite easy sewing projects and can turn an ordinary binder into something colorful and fun.
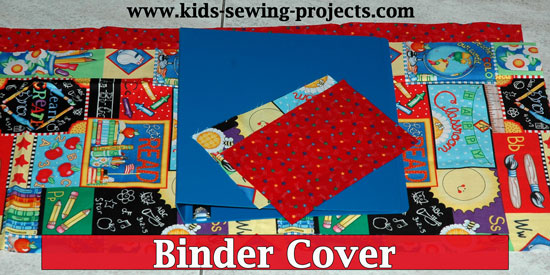
You will need:
- Three ring binder
- 2 types of coordinating fabric or same material for front and back
- interfacing
- sewing supplies
Sewing Materials Available

Binder Cover Tutorial Directions
- Lay your binder open and flat and measure the length and the height. Now add 12 inches to the width measurement and 1 1/2 inches to the height.
- Cut 2 rectangles from the same material or 2 coordinating pieces of material.
- Cut 2 8" x 5" rectangles from the same material or coordinating material for pocket. Cut a 8"x5" piece from interfacing.
- Iron interfacing to one pocket. With right sides together of pocket rectangles sew, leaving one top end open.
- Turn right sides out and tuck open edge in.
- Iron flat and topstitch top of pocket. Set aside.
- Sew long rectangles with right sides together leaving a hole for turning out.
- Turn right side out and iron flat. Top stitch opening closed.
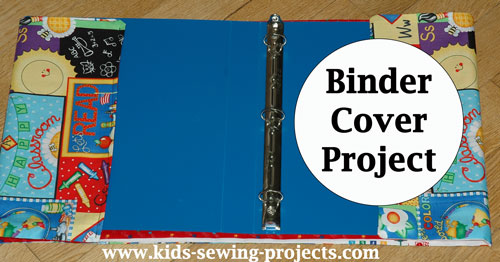
- Lay sewn rectangle out and place binder on top. Turn edges in
and shut binder closed.
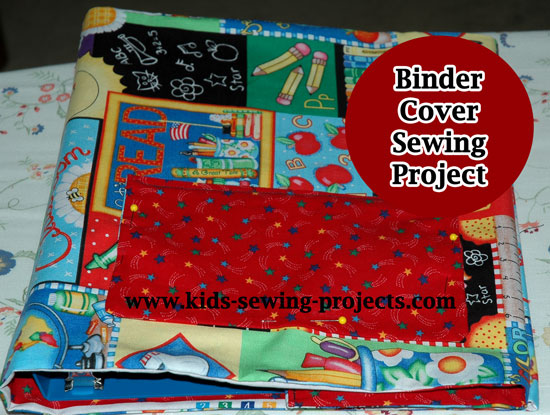
- Place pocket in position and pin on front of book. Take binder
out. Sew pocket in place. If you want divided pockets sew down
the middle of pocket as well.
- Place binder on top of the rectangle again and fold in edges.
Pin top edges in place.
- Sew top and bottom of edges. Leave long side opening for inserting binder.
Related Kids Lessons Projects:
~Kids Sew Lessons, ~Applique Shirt Project, ~Bath Mitt, ~Binder Cover,~Christmas Cone Ornaments,~Cloth Basket,~Cloth Basket Tray with Ribbon Corners, ~Cloth Dinner Napkins or Bread Cloths,~Easy Sew Curtains,~Fairy Costume, ~Headbands,~Jean Skirt,~Pillowcase Skirt, ~Prairie Points,~Sew Purse, ~Recycle Your Old Tie Projects,~Reversible HeadBands, ~Shirt into Shorts Project,~Shirt and Transform it into a Dress,~Tie Pillow, ~Tie Skirt,~Tiered T-shirt Skirt, ~Wall Hanging, ~Shorts, how to sew, ~Entertainment Bag
Follow Kids Sewing Projects


[?] Subscribe To This Site

Copyright 2007-2024, Debbie Madson, Madson Web Publishing, LLC
All rights reserved.
The material on this site is for educational purposes.
Nothing on this page is public domain.

All rights reserved.
The material on this site is for educational purposes.
Nothing on this page is public domain.