Mini Bag with Snap
For this mini bag with snaps you will need the following:
- 2- 10x 6 inch pieces of fabric, they can be the same fabric or you can have a different piece for your lining.
- 1- 10x6 piece of interfacing
- Snaps- (some snaps are hand sewn on and some require a special tool- it will give you directions on how to use them on the package)
Sewing Materials Available

Sewing a Mini Bag and Adding Snaps
- Iron interfacing to the wrong sides of the lining piece.
- Layer outside fabric and lining with right sides showing.
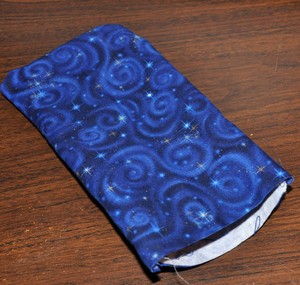
- Put right sides together. Sew along three sides of fabric leaving the top open.
- Turn right sides out and iron flat.
- Tuck top edge down and pin. Sew a hem on the top.
- Place outside fabric together and sew side edges together
leaving top open.
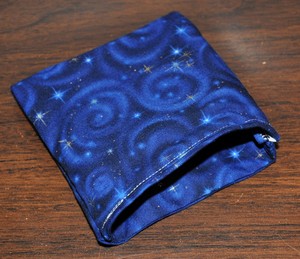
- Turn right sides out again and hand sew or attach snaps in the hem. You can add two snaps on each end for more security.

~Add a strap for a mini purse.
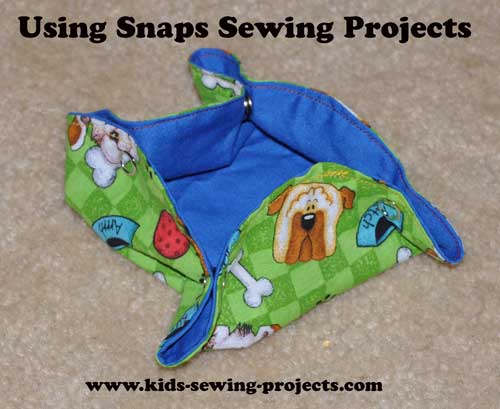
Easy Box with Snaps
by Tanja (Mountain View, CA)
Another project using snaps like the mini bag with snaps above.
"It's a Snap!" (easy box) from MyLittleMochi.typepad.com
I teach a sewing club, usually attended by 4th-8th grade girls, but I was pleased when a couple of 8th grade boys showed up this trimester!
They loved the "It's a snap!" project. Since we are doing all hand sewing, they did back stitch to sew the circles together, then top-stitched after turning. Very successful project for everyone, even the 4th graders who had never picked up a needle!
Editor's Note:
This is a great project for learning how to add snaps to a project. Once you cut out your two circles and sew them together with right sides together, turn right sides out and sew a topstitch. Then add your snaps alternating.
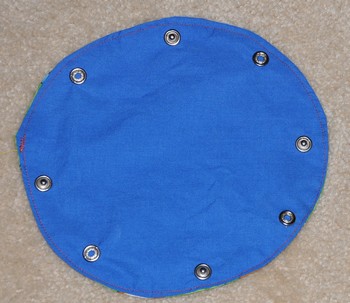
You can find a pattern of how the snaps should go at the link above.
Related Lessons Projects:
~Sewing Lessons Level 5, ~ Mini Snap Bag , ~Sew a buttonhole, ~Zipper Bag, ~Netbook Carrier,~How to sew a quilt, ~Denim Quilt, ~Rainbow patch blanket, ~Striped Quilt, ~Frayed Edge Quilt, ~Bandanna Quilt, ~Scrap Patchwork Quilt, ~How to tie a quilt, ~Sew a Rug, ~Needle Book
Follow Kids Sewing Projects


[?] Subscribe To This Site

Copyright, Debbie Madson, Madson Web Publishing, LLC
All rights reserved.
The material on this site is for educational purposes.
Nothing on this page is public domain.

All rights reserved.
The material on this site is for educational purposes.
Nothing on this page is public domain.