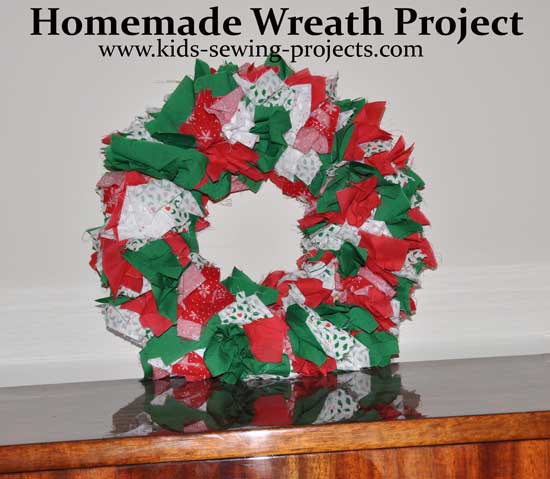
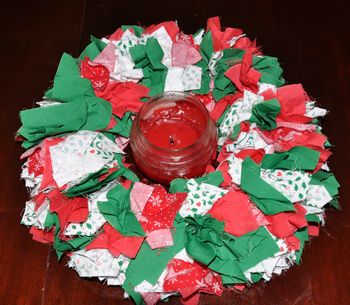
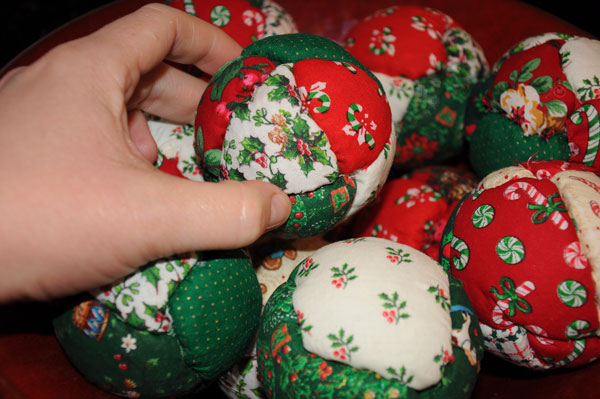
Homemade Fabric Christmas Wreath
Making a homemade Christmas wreath is a fun, hands-on project kids can help with. All you need are a few coordinating fabric pieces and a straw wreath base. By cutting the fabric into squares and poking them into the wreath, you create a fluffy, full wreath that looks beautiful for the holidays- or any time of year.
You can personalize your wreath using holiday fabrics, winter patterns, or even fabrics that match a room in your home. These wreaths also make wonderful handmade gifts for teachers, neighbors, and family members.
Sewing Materials Available

Fabric Wreath Project
You will need:- 23 coordinating fabrics (½-1 yard each depending on wreath size)
- Straw wreath (circle or heart shape)
- Pencil, chopstick, or screwdriver (for poking fabric into wreath)
- Rotary cutter or scissors
- Ruler or cutting mat
Step-by-Step Instructions
1. Cut the Fabric Squares
Choose 2-3 fabrics that look nice together. Cut them into 4 x 4 inch squares.Tips:
- A rotary cutter makes this step faster, but always have adult supervision.
- The number of squares you need depends on how full you want the wreath and how large the wreath is.
- A fuller wreath uses more squares.
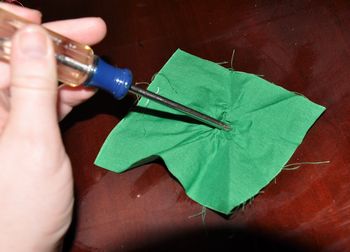
2. Place the Tool in the Center of a Fabric Square
Lay one fabric square flat.Place the tip of your pencil or screwdriver in the center of the square.
This helps shape the fabric and makes it easier to poke into the wreath.
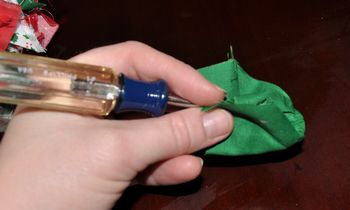
3. Wrap the Fabric Around the End
Lightly wrap or fold the fabric upward around the pencil or screwdriver tip.You dont have to make it perfect- this step simply gathers the fabric so it goes into the wreath smoothly. Wrap your fabric around the end of the screwdriver.
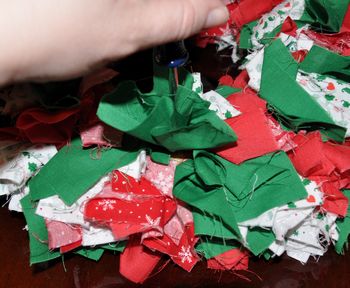
4. Insert the Fabric Into the Straw Wreath
Using your tool, poke the gathered tip of the fabric square straight into the straw wreath.Push it in about ½ inch so it stays secure.
Repeat this step around the wreath, adding squares close together so the wreath looks full and fluffy.
5. Continue Adding Fabric Pieces
Work your way around the wreath, alternating fabrics to create a nice pattern.Fluff and adjust the fabric pieces as needed- they should stand up and create a soft, textured look.
Kids love this part because the wreath starts to take shape quickly!
6. Fill the Entire Wreath
Keep adding fabric squares until the wreath looks full all the way around.Be sure to cover the sides and outer edges so the straw wreath doesnt show through.
Once finished, you can:
- Hang it on your door
- Use it as a table centerpiece
- Give it as a homemade Christmas gift
Extra Creative Ideas
Holiday Versions:
- Christmas prints (greens, reds, plaids, snowflakes)
- Candy cane stripes
- Metallic gold or silver accents
- Spring pastels
- Fall colors
- Fabric colors that match a living room or bedroom
- Blues and whites for a winter theme
Kids can embellish their wreath with:
- Small ornaments
- Ribbon bows
- Jingle bells
- Felt shapes (trees, hearts, stars, snowflakes)
- LED fairy lights
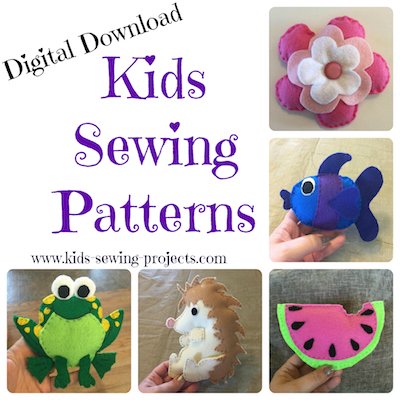
Need a fun hand sewing project?
Felt Sewing Patterns!
Heart-Shaped Fabric Wreath
Straw wreaths also come in heart shapes! Use the same fabric-square method to poke and fill the shape-perfect for Valentines Day, birthdays, or room décor.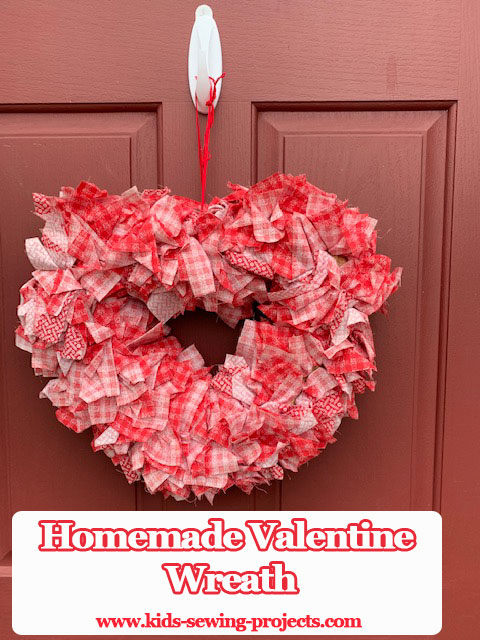
More Christmas Sewing Ideas
Need more homemade Christmas sewing ideas.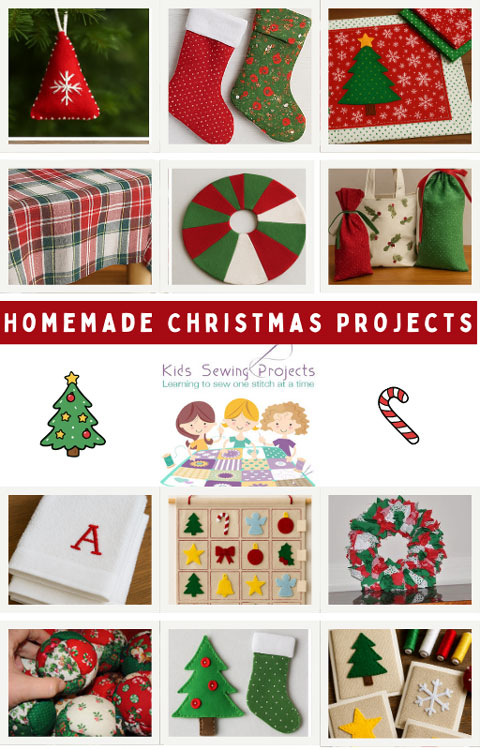
Christmas No Sew Ball Ornaments
These crafts let kids explore design and color without needing needle skills.
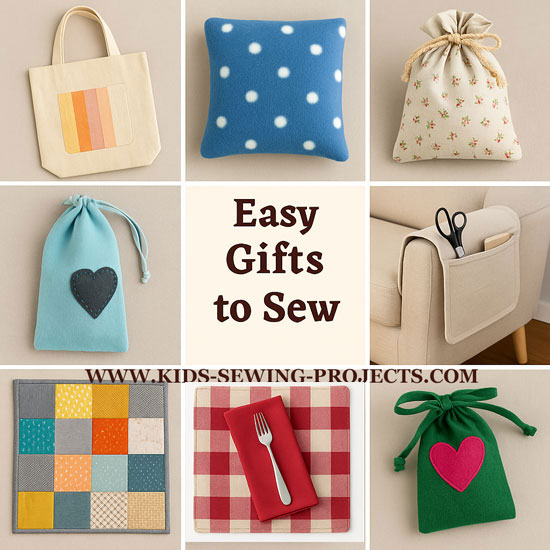
More Gift Ideas to Sew

Related Non-Sewing Projects:
~Non Sewing Projects, ~Fleece Pillow, ~Fleece Poncho, ~Fabric Wreath, ~Fairy Wings, ~ Fleece Blanket, ~Fleece Scarf, ~ Sewing kit in a jar, ~No sew vest, ~No Sew Table Runner, ~Fabric Bulletin Board,
Follow Kids Sewing Projects


[?] Subscribe To This Site

Copyright, Debbie Madson, Madson Web Publishing, LLC
All rights reserved.
The material on this site is for educational purposes.
Nothing on this page is public domain.

All rights reserved.
The material on this site is for educational purposes.
Nothing on this page is public domain.