Tree Skirt Pattern
A tree skirt pattern makes a fun and easy project of creating a Christmas tree skirt. To make a pattern you will need a square piece of heavy paper 36x36 inches or larger. The larger the pattern, the larger the tree skirt, so it is important to measure your Christmas tree and stand before beginning to ensure that your skirt is the proper size.
Sewing Materials Available

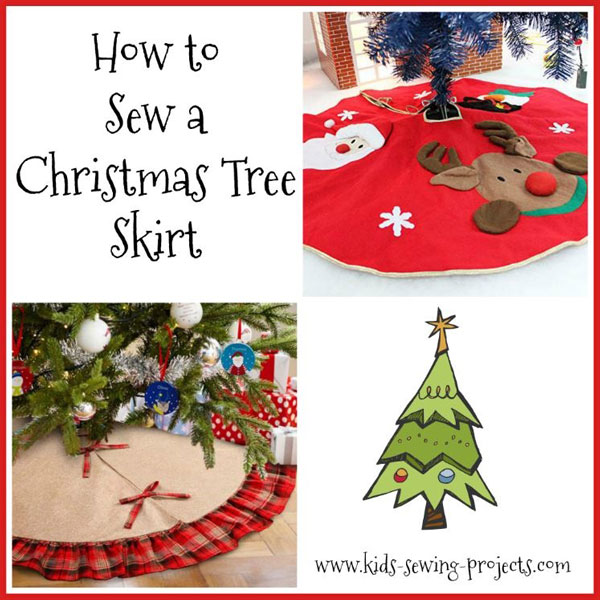
How to Sew a Christmas Tree Skirt
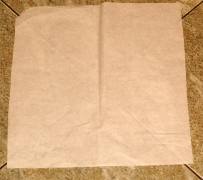
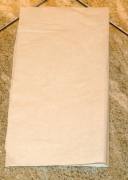
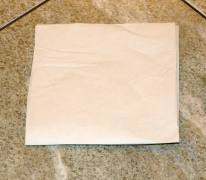
If you need a larger square of paper, tape 2-4 pieces of paper together until you have the size of square needed for your project. Fold your paper in half, and then again in half again, width-wise. You now have a square one-quarter of the size you began.Using the two sides of the square with four raw edges (no folds), draw a line from one corner to the next, rounding as you go, to make a quarter circle. When opened, your once square piece of paper is now circular. Fold your circle up again to cut the opening for the tree trunk and stand, but before cutting, make careful measurements to ensure that your tree skirt pattern will fit your tree.
 |
 |
 |
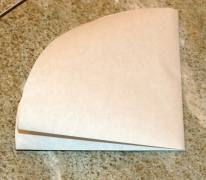 |
For a small tree trunk, measure and mark with a pencil 2 inches down from the point of the quarter circle, For medium tree, measure and mark with a pencil 3 inches down from the point of the quarter circle. For a large tree, measure and mark with a pencil 4 inches down from the point of the quarter circle. At the point of measurement, draw an even, rounded line.
An easy way to make an even line is to tie your pencil onto a piece of string, place the point of the pencil onto the mark you measured, and then pulling the string tightly, anchor the string with your finger at the point of the quarter circle and draw an arc. This method works like a compass and evenly measures the hole in the middle of your tree skirt and when cut, this hole will allow your tree skirt to fit properly around the tree.
Cut through all layers of your quarter circle on the rounded line. When opened, you will have a large circle with a smaller circle cut out of the middle. To measure your pattern around your tree skirt, make a slit in your pattern on one of the fold lines to the center hole, but be careful not to cut through the entire pattern; your tree skirt pattern will be in one piece with a slit to the middle on one side. Make any adjustments necessary after fitting your pattern around the tree stand.
Decorating Your Tree Skirt
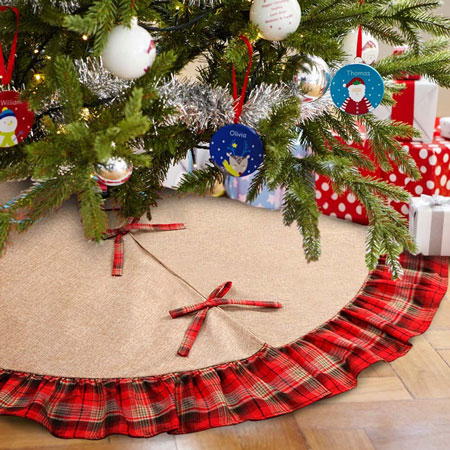
Once your tree skirt pattern is completed, the fun begins! Place the pattern on top of the fabric of your choice, and cut the fabric out around the paper pattern. If your pattern is larger than your fabric, sew two pieces of fabric together to get the desired size.Using a pencil, mark the slit and the middle hole of the pattern onto the fabric, remove the pattern and then cut the marked slit and circle out. If your fabric is one that does not require hemming, such as felt or fleece, proceed with decorating your tree skirt. If your skirt requires hemming, ask an adult for help in finishing the edges of your skirt.
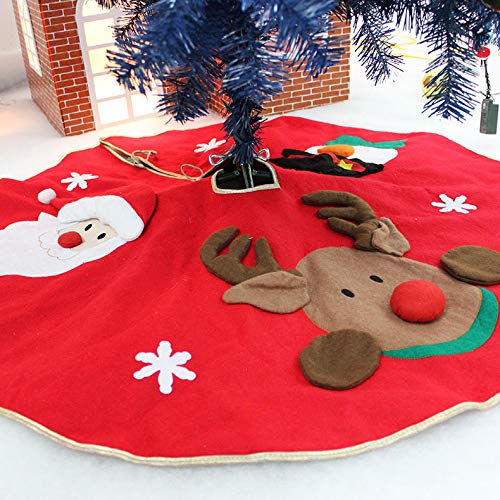
Using embellishments like buttons, fur trims, lace and bows, decorate your tree skirt how you want. Fur or lace trims around the edge of the tree skirt make a nice addition, and sparkly add-ons or bows make your tree skirt more spectacular. For quick and easy attachment of your embellishments, use a glue gun, with adult permission and supervision, of course. If you would like to make sure your embellishments are secure, hand-sew them on carefully.
If you want to understand how to sew a Christmas tree skirt, knowing how to make and use a tree skirt pattern ensures successful completion of this fun holiday project
Buy a Tree Skirt Pattern
Follow Kids Sewing Projects


[?] Subscribe To This Site

Copyright, Debbie Madson, Madson Web Publishing, LLC
All rights reserved.
The material on this site is for educational purposes.
Nothing on this page is public domain.

All rights reserved.
The material on this site is for educational purposes.
Nothing on this page is public domain.