No-Sew Fabric Banner Garland
Project Type: No-Sew Fabric Craft
Skill Level: Beginner
Ages: 5+ (with scissor supervision)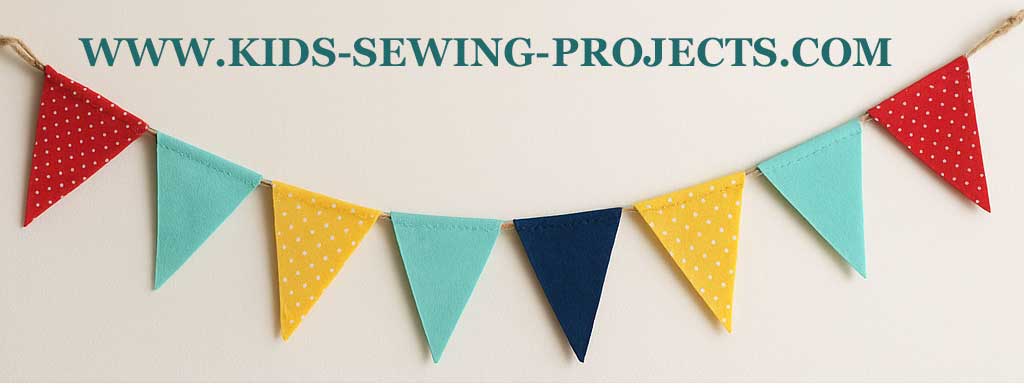
What You’ll Need:
Fabric scraps or felt in various colors and patterns
Fabric scissors
Ruler or straight edge
Pencil or fabric chalk
Ribbon, twine, or yarn (for the garland string)
Fabric glue or safety pins
Optional: Fabric markers, puff paint, stick-on letters, or felt shapes for decoration
Step-by-Step Instructions:
1. Cut Your Banner Shapes
Use a ruler to draw shapes like triangles, rectangles, or pennants on the back of your fabric or felt.
Cut out 6–10 banner pieces for a short garland (more for longer ones).
Shapes should be roughly 4–6 inches tall and 3–5 inches wide.
2. Decorate (Optional but Fun!)
Let kids use fabric markers or stick-on embellishments to personalize each banner piece with their name, drawings, or holiday themes.
You can also glue on felt letters, buttons, or shapes.
3. Attach to String or Ribbon
Lay your ribbon or yarn flat on a table.
Fold over the top edge of each banner piece (about 1 inch) and glue it down over the string, forming a flap or loop.
Space the banner pieces 1–2 inches apart.
Let the glue dry completely.
***Alternately you can sew along the folded edge to make it more secure.
Or Use safety pins or mini clothespins to clip the banner pieces directly to the ribbon—no glue needed!
4. Hang Your Banner
Find a fun place to display your garland: bedroom wall, party table, sewing room, classroom, or doorway.
Tie or tape the ends to secure in place.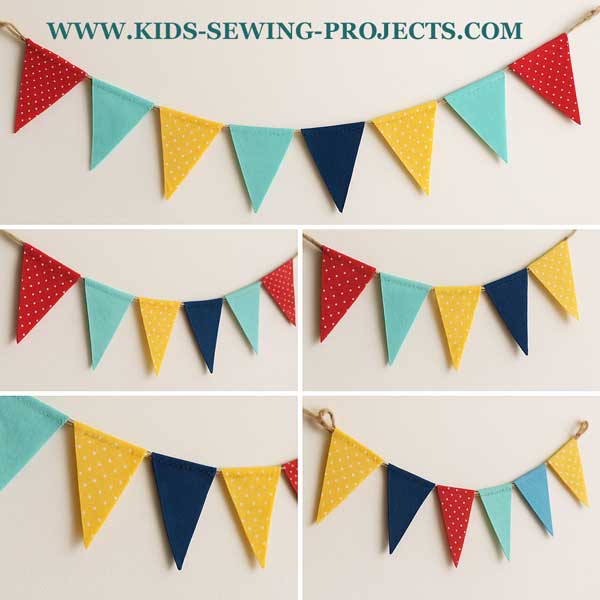
Great as a group activity for birthdays or club meetings
Sewing Materials Available


All rights reserved.
The material on this site is for educational purposes.
Nothing on this page is public domain.
