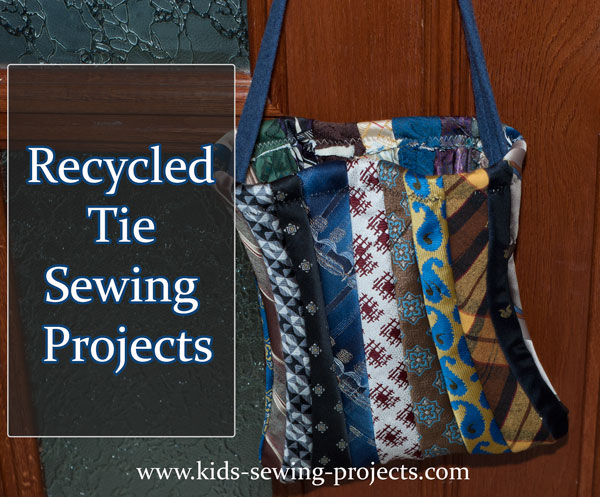
Tie Projects
Recycle dad's old ties or visit a thrift store. Wash them by hand and try some fun projects.
Sewing Materials Available

Here are several ideas when sewing with your ties.
- You can cut ties in equal scraps, such as 3 x 3 inches on the wider end, and piece them together for a quilt or baby blanket.
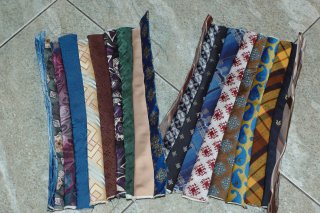
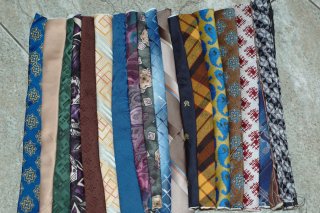
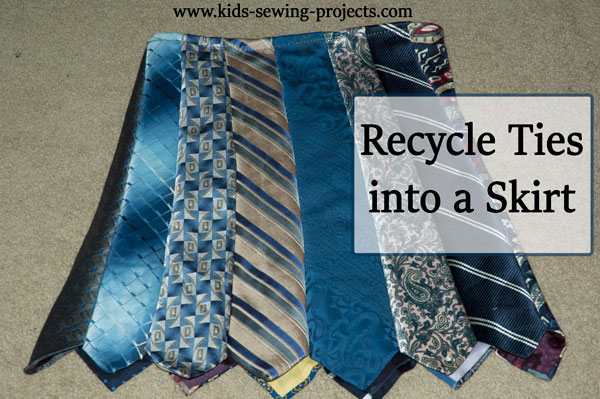
- You can place opposite ends of the ties next to each other, wide tip next to skinner end to interlock ties. Lay flat and lay your pattern piece down on the ties, just as you would a piece of fabric. Cut and sew as per pattern instructions.
- Use the skinnier end of the ties and sew together one after another. Example below.
- Make sure you hand wash your tie projects. They might fall apart in the washing machine.
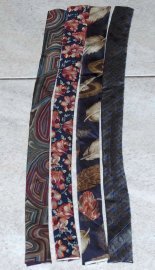
Example sewing the skinny ends together and interlocking opposite ends.
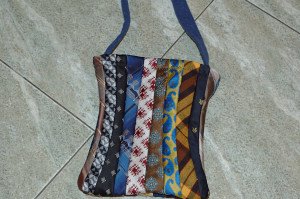
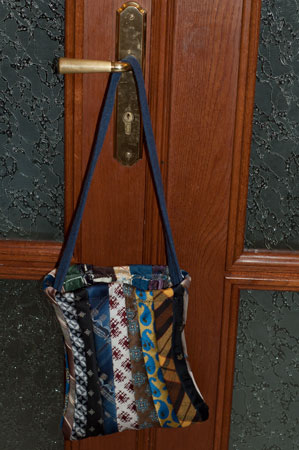
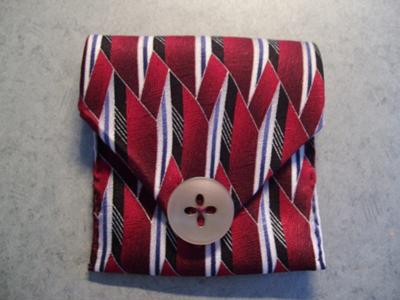
Tie Purse
- 11-12 ties *
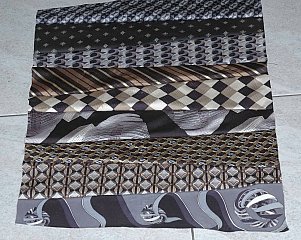
Cut the pointed ends off the ties. Starting at the skinny end
measure and cut 14 1/2-15 inches long. Sew ties together one after
another until it forms one rectangle.
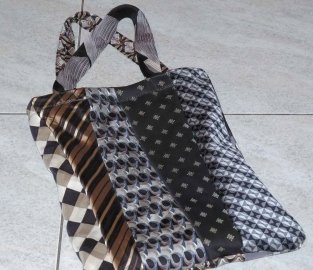
Trim ends so they are even if needed. With right sides together sew two sides together and bottom of bag. Turn top edge down and pin. Sew hem.

Add a tie for a handle by hand stitching. Or two ties one on each side.
Need a fun hand sewing project?
Felt Sewing Patterns!
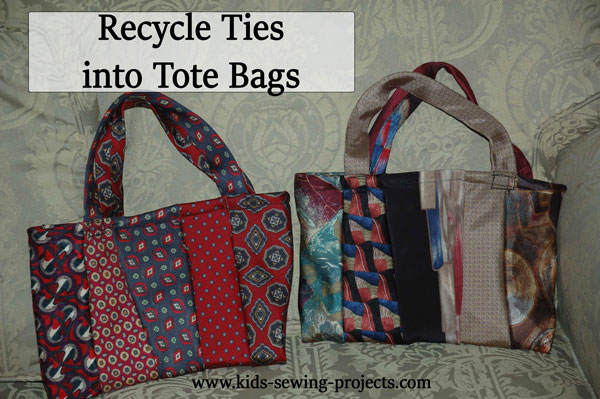
Pointed Tie Tote Bag
If you want a pointed end on your bag, leave the pointed ends on. When sewing the bottom edge, turn the points inside toward the right sides and sew along edge. When you turn your bag right sides out the pointed ends will show. If you want a longer bag, cut the ties 18 inches or as long as you would like.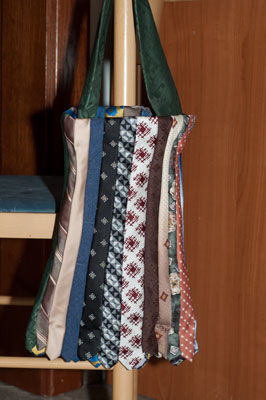
Experiment with tote bag or tie designs and you can make a variety of different styles and sizes.
More Sewing with Neckties Projects
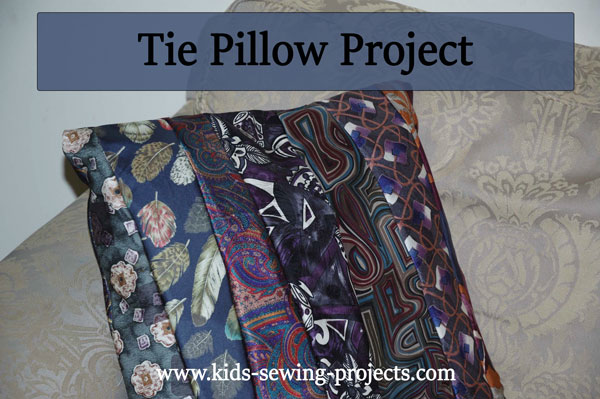
Sew a Tie Pillow
Learn how to make a Tie Skirt
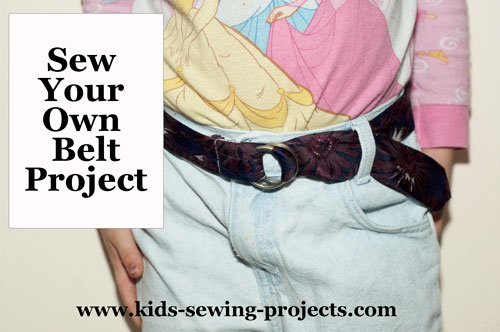
Sew A Tie Belt
Change Pocket
Related Kids Lessons Projects:
~Kids Sew Lessons, ~Applique Shirt Project, ~Bath Mitt, ~Binder Cover,~Christmas Cone Ornaments,~Cloth Basket,~Cloth Basket Tray with Ribbon Corners, ~Cloth Dinner Napkins or Bread Cloths,~Easy Sew Curtains,~Fairy Costume, ~Headbands,~Jean Skirt,~Pillowcase Skirt, ~Prairie Points,~Sew Purse, ~Recycle Your Old Tie Projects,~Reversible HeadBands, ~Shirt into Shorts Project,~Shirt and Transform it into a Dress,~Tie Pillow, ~Tie Skirt,~Tiered T-shirt Skirt, ~Wall Hanging, ~Shorts, how to sew, ~Entertainment Bag
Follow Kids Sewing Projects


[?] Subscribe To This Site

Copyright 2007-2024, Debbie Madson, Madson Web Publishing, LLC
All rights reserved.
The material on this site is for educational purposes.
Nothing on this page is public domain.

All rights reserved.
The material on this site is for educational purposes.
Nothing on this page is public domain.