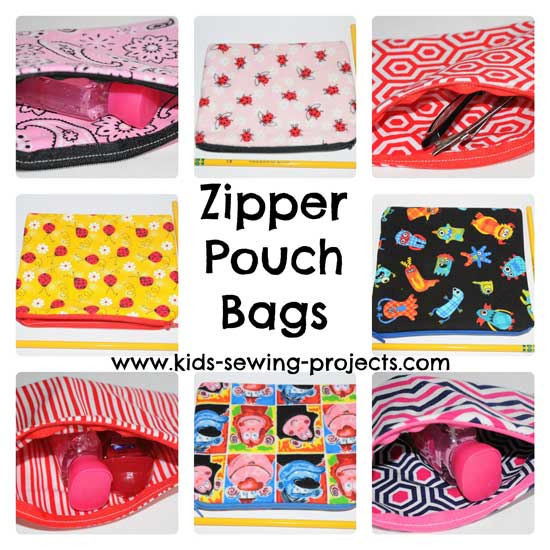
How to Sew a Zipper Bag
You will need the following to learn how to sew a zipper bag:
- **If you'd like a smaller bag, cut out interfacing and fabric 5x9 inches and use a 4 inch zipper.
- Cut interfacing and fabric, 12x7 for a 6 inch zipper.
- 2 pieces of 8x12 inch fabric
- 8x12 inch interfacing
- 7 inch zipper
Sewing Materials Available

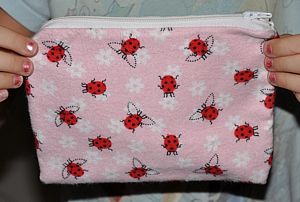
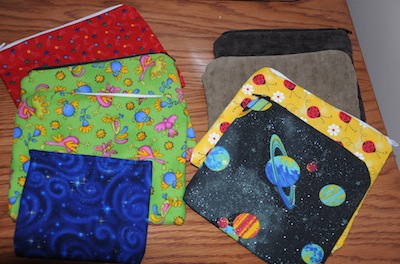
Learning How to Make a Zipper Bag
See below for a video on sewing zippers.Step 1 for Intermediate Lesson 3
Layer the interfacing and one 8x 12 rectangle material on top of each other so the right side is visible.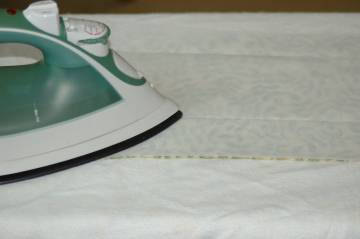
Iron together. Some interfacing is fused to the material with an iron, some has to be sewn together. Read the instructions that come with the interfacing to determine. Place the other piece of material on top of the interfacing, right side up, so you have a double sided piece of material. Pin in middle to secure together. Set aside until the next lesson, where you will learn about adding zippers.
Step 2 for Intermediate Lesson 4
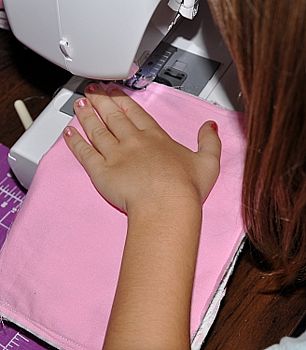
Fold in half. Pin zipper to the top edge as shown in the picture. ~Note, if making different lining the zipper will go on top of the outside material.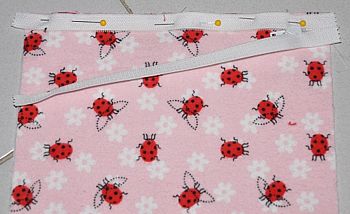
Unzip the zipper half way. Start to sew and then move the zipper up to the top and continue sewing. Pin zipper to opposite side.
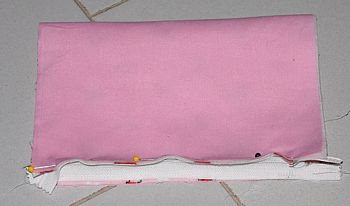
Sew. Now pin sides and sew each side. Unzip zipper and turn right side out.
**If you'd like a smaller bag, cut out interfacing and fabric 5x9 inches and use a 4 inch zipper.
Cut interfacing and fabric, 12x7 for a 6 inch zipper.
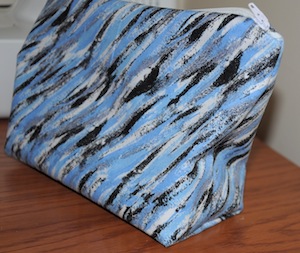
Boxed Bag
This method is great for making a larger bag that has a more boxed
shaped to the bottom. You will need:
- 2- 16x12 inch fabric rectangle one for outside, one for lining
- 16 x12 inch rectangle of interfacing
- 12 inch zipper
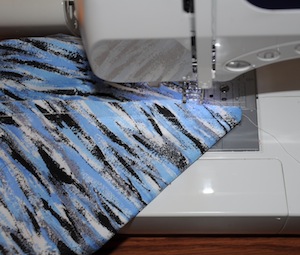
Holding your zipper bag with inside out. Pinch the bottom edge and fold the opposite direction it normally lays at making a triangle.

Sew across the triangle from one edge to the other.
Video Tutorial on Sewing a Zipper
Related How to Sew Pages:
Pleats, ~Zippers, ~Darts, ~Hand Stitches, ~Buttons, ~Sew Curves, ~Sew Corners, ~ Sewing aprons, ~Applique, ~ Sequins, ~Buttonholes, ~French Seams, ~Ruffles, ~Elastic, ~Blanket binding, ~Sew patches, ~Ric Rac, ~Skirts, ~Top Stitch, ~Pillows, ~Stuffed animals, ~Skirt pattern, ~Stretch material, ~Thread a needle, ~Measure a pattern
Related Lessons Projects:
~Sewing Lessons Level 5, ~ Mini Snap Bag , ~Sew a buttonhole, ~Zipper Bag, ~Netbook Carrier,~How to sew a quilt, ~Denim Quilt, ~Rainbow patch blanket, ~Striped Quilt, ~Frayed Edge Quilt, ~Bandanna Quilt, ~Scrap Patchwork Quilt, ~How to tie a quilt, ~Sew a Rug, ~Needle Book
Follow Kids Sewing Projects


[?] Subscribe To This Site

Copyright 2007-2024, Debbie Madson, Madson Web Publishing, LLC
All rights reserved.
The material on this site is for educational purposes.
Nothing on this page is public domain.

All rights reserved.
The material on this site is for educational purposes.
Nothing on this page is public domain.