How to Sew a Quilt
To learn how to sew a quilt you will need:
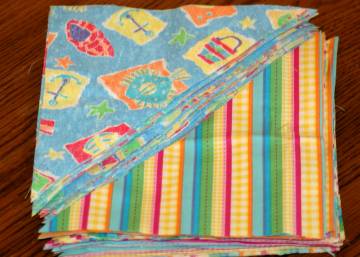
- 2 kinds of coordinating or similar color fabric about 2 yards each
- 1 ½ yards fabric for backing
- Batting
Sewing Materials Available

Prepping your Fabric
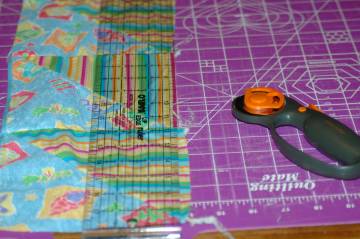
With a rotary cutter and ruler, cut your material into 7x7 inch squares.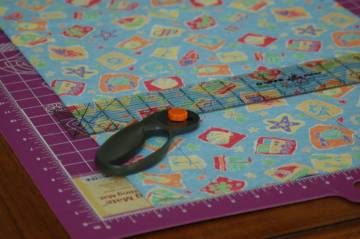
How to Use a Rotary Cutter
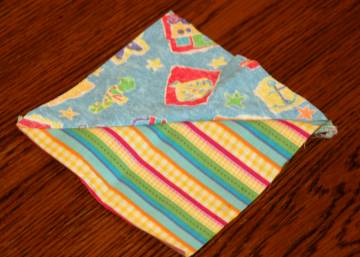
You can either leave them in squares or if you'd like to work with triangles cut diagonally into triangles. Sew two different triangles together to form a square. ~~See note below.
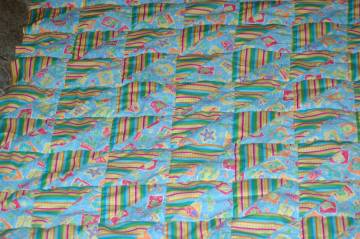
Now sew your squares together making a pattern.
~~To make it easier for your easy sew quilt, I recommend you start with squares instead of triangles. The finished quilt is about 40x 60 inches. This quilt has 70 squares. 7 squares across and 10 squares down.
Sewing Your Fabric Together
Sew 7 squares together. Make 10 of these each with 7 squares in each row.With your rotary cutter, ruler and mat trim all rows so the edges are even. (If your edges aren't even, your quilt won't go together as well.)
Now sew your rows together one after another until they are all attached. With your rotary cutter again, trim sides even. Now, you have the top of your quilt done.
Cut your backing material to the same size as your top, or leave an inch overhang on your bottom material, as below. On a flat surface lay your backing material out flat with right side facing down. Top with batting and smooth flat. Top with your quilted top right side up. Lay flat and pin several places along edges and through the middle.
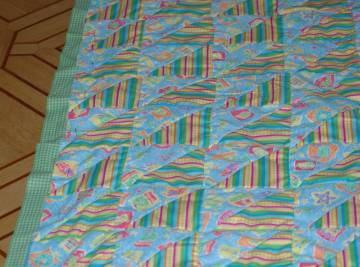
Either tie your quilt or hand sew. See directions on how to hand stitch or how to tie your quilt.
When done tying (or hand sewing), take out pins and turn edges in and pin. Sew around edges taking pins out as you sew. Or use a blanket binding.
Related Lessons Projects:
~Sewing Lessons Level 5, ~ Mini Snap Bag , ~Sew a buttonhole, ~Zipper Bag, ~Netbook Carrier,~How to sew a quilt, ~Denim Quilt, ~Rainbow patch blanket, ~Striped Quilt, ~Frayed Edge Quilt, ~Bandanna Quilt, ~Scrap Patchwork Quilt, ~How to tie a quilt, ~Sew a Rug, ~Needle Book
Follow Kids Sewing Projects


[?] Subscribe To This Site

Copyright 2007-2024, Debbie Madson, Madson Web Publishing, LLC
All rights reserved.
The material on this site is for educational purposes.
Nothing on this page is public domain.

All rights reserved.
The material on this site is for educational purposes.
Nothing on this page is public domain.