How to Sew a Pillowcase
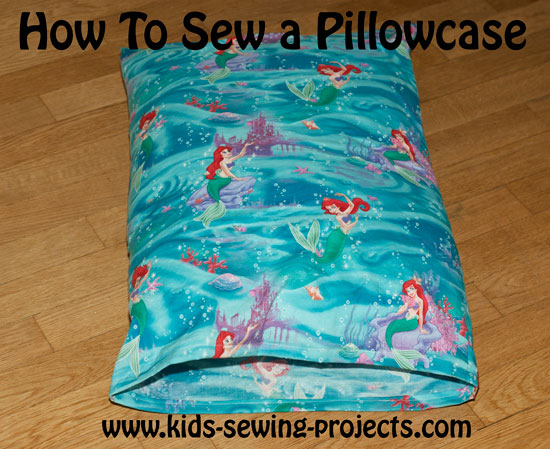
Here are directions on how to sew a pillowcase for an easy kids sewing project. They are a great way to decorate and personalize your room. You can really be creative on these. Make a holiday pillowcase or use fabric with a favorite character. Fabric now a days comes in all colors and a wide variety, making this sewing project a lot of fun.
You will Need:
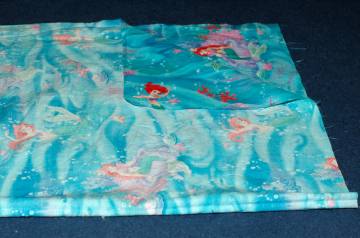
- 2- 23 x 33 inch rectangles cut out of your fabric
Sewing Materials Available

How to Sew Pillow Cases
Measure and cut material. Or use an older pillow case for a
pattern. A fabric pencil and quilting ruler might be
helpful.
 >
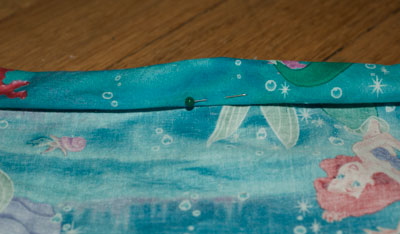
> - Place two rectangles right sides together. Sew one side to the end, take it off the machine and sew the next side. Don't forget to do your backward stitch after the first few stitches and at the end. (We will learn how to do corners in the next level if you already know how, go ahead!) Leave one short side open. Turn the top edge over ½ inch and then ½ inch again. Pin in place.
- Sew the edge taking out your pins as you sew. This is called
sewing a hem. Turn right side out and your pillow case is all
done and ready for bed.
Good Night!
Sewing a Pillowcase with Trim Tutorial
It is easy to add trim or ric a rac along the edge of your pillowcase. Pin in place and stitch around edges. Here are some examples.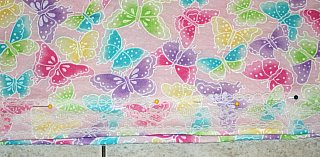
Pillowcase with lace. A little hard to see but we've pinned the lace around the top edge of the pillowcase.
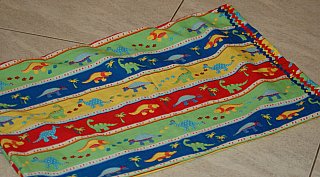
Pillowcase with ric a rac. We did a double row of different colors ric rac on the top edge.
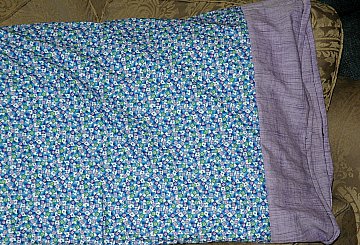
Patchwork Pillowcase Tutorial Project
- 2 - 22 x 30 inch fabric rectangles
- 2- 22 x 7 inch rectangles from coordinating fabric
Continue pillowcase instructions from step 1 above.
How to Sew a Pillowcase- Video
Related Beginner Projects:
~Pre Beginner Lessons, ~ Sew Bean Bags, ~ Cell phone holder, ~Sew ornaments, ~ Easy Snowman Craft, ~ Easy Dishtowel Apron, ~ Felt Organizer, ~ Fleece Hat, ~ Heating Pad, ~ How to sew a pillowcase, ~ iPod holder, ~ Potpourri pillows, ~ Pillowcase Apron, ~ Pin Cushion, ~Rectangle shape pillow, ~Traveling Sew Kit, ~Stuffed Kittens, T Shirt Fringe Bag ~Tie Belt, ~ Stuffed Fatties Ball Animals,, ~Mouse Cat Toy, ~Hand Sew Potholder,
Follow Kids Sewing Projects


[?] Subscribe To This Site

Copyright 2007-2024, Debbie Madson, Madson Web Publishing, LLC
All rights reserved.
The material on this site is for educational purposes.
Nothing on this page is public domain.

All rights reserved.
The material on this site is for educational purposes.
Nothing on this page is public domain.