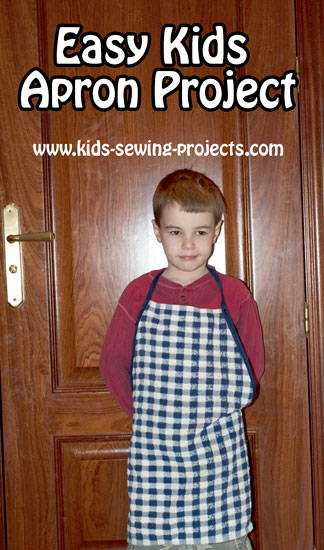
Easy Sew Apron
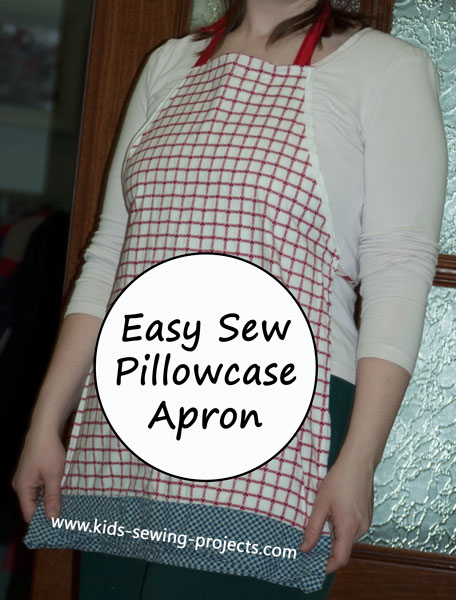
Using an old pillowcase, you can create this easy sew apron. I love it for its simplicity and the chance to recycle. We bought our pillowcase at a second hand store.
You will need for this project:
- pillowcase, new or used
- 4 pieces of ribbon- 25 inches long or see directions below for creating straps out of material
- bias tape to match material
- sewing supplies
Sewing Materials Available

Pillowcase Apron
To begin fold your apron in half as shown below. Measure 4 inches from the top right corner. Mark or pin. Measure 8 1/2 inches on the side starting at the right hand corner. Pin or mark. Cut curve to match marks.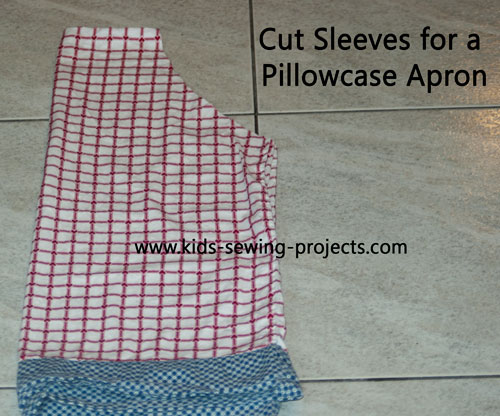
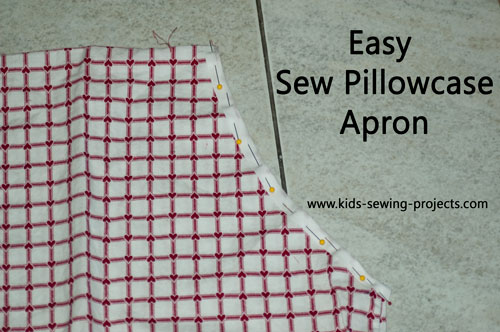
Unfold and pin bias tape along arm edges. Sew taking out pins as you go.
To keep your edges unraveling on your ribbon turn top edge down and down again. Stitch. Pin ribbon on each top edge as shown in the picture.
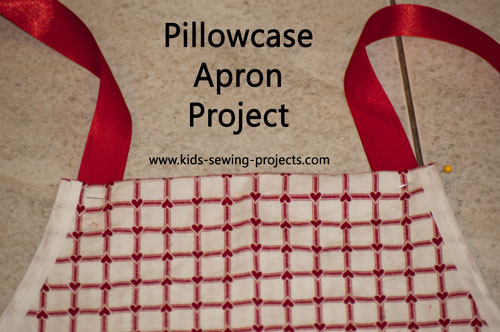
Pin ribbon on sides at the bottom edge of the bias tape.
Straps from Material
If you are using material to create your straps. Cut 4 strips 25 inches long and 2 inches wide. Fold edges in and sew down the middle.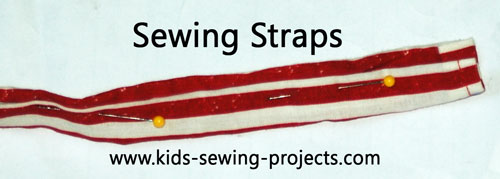
Need a fun hand sewing project?
Felt Sewing Patterns!
Easy Sew Apron- Pantleg
by Christa (Sweet Home, Oregon USA)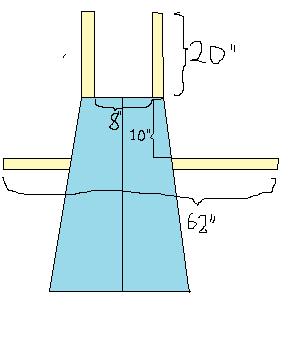
Find a pair of jeans with at least one usable leg(stains or small holes are okay). Generally pants that fit make an apron that fits, but there is some leeway.
You will also need something for the ties. These can be made of wide grosgrain ribbon, or you can make them out of cloth. For an adult size apron, the neck ties are about 20" long, and the waist ones are however long they need to be to make 62" from end to end. These measurements may need to be adjusted, so if you have an apron that fits well you can measure it. 1 1/4" is a good width, so you would cut fabric for cloth ties 3 1/2" wide (for a 1/2" seam allowance).
Cut the pantleg off as high as possible, and cut along the outer seam. The narrow end will be the top. Lay it flat. Cut the bottom edge straight. This is easiest done with a rotary cutter and a quilting ruler, but you can use a yardstick or anything straight and long enough, make a line with a pencil or chalk, and cut with scissors.
For a rougher "fuzzy-edge" look, simply zigzag around the sides and bottom. You could also finish the edge with bias tape which would give it a smoother look otherwise you would fold the sides over about 1/2" (iron it down) and sew.*
If your apron is for a girl and you want a feminine look you can sew a purchased ruffle of any size along the bottom edge (or if you know how you can make your own).
To make the ties, cut rectangles 3 1/2" by desired length plus 1". Fold edges inward 1/2" and iron. Then fold in half lengthwise and iron again. Pin and sew 1/4" from the edge. Attach to apron with zigzag stitch. The top ties don't have to be right on the corners.
For more fun, you can decorate your apron with pockets, patches(can be used to cover holes and stains), rickrack, and a variety of other embellishments.
*Be careful with the corners as they are very thick and tend to jam up the machine if you don't go very slowly (manually turn the wheel and maybe even slightly lift the pressure foot).
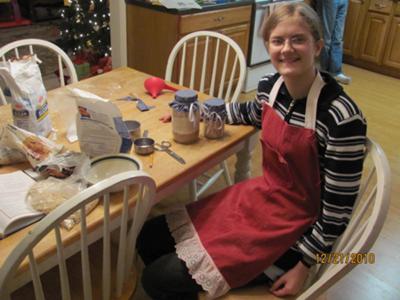
An apron made with pink jeans
More Apron Projects
You can find more directions on how to sew an apron at the following links:Here is an easy sew apron project using a dishtowel.
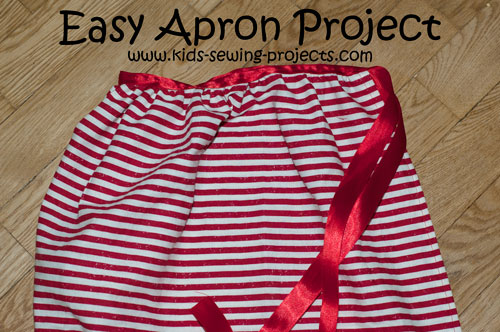
Directions on sewing a skirt apron.
Related Beginner Projects:
~Pre Beginner Lessons, ~ Sew Bean Bags, ~ Cell phone holder, ~Sew ornaments, ~ Easy Snowman Craft, ~ Easy Dishtowel Apron, ~ Felt Organizer, ~ Fleece Hat, ~ Heating Pad, ~ How to sew a pillowcase, ~ iPod holder, ~ Potpourri pillows, ~ Pillowcase Apron, ~ Pin Cushion, ~Rectangle shape pillow, ~Traveling Sew Kit, ~Stuffed Kittens, T Shirt Fringe Bag ~Tie Belt, ~ Stuffed Fatties Ball Animals,, ~Mouse Cat Toy, ~Hand Sew Potholder,
Follow Kids Sewing Projects


[?] Subscribe To This Site

Copyright 2007-2024, Debbie Madson, Madson Web Publishing, LLC
All rights reserved.
The material on this site is for educational purposes.
Nothing on this page is public domain.

All rights reserved.
The material on this site is for educational purposes.
Nothing on this page is public domain.