Christmas Cone Ornament
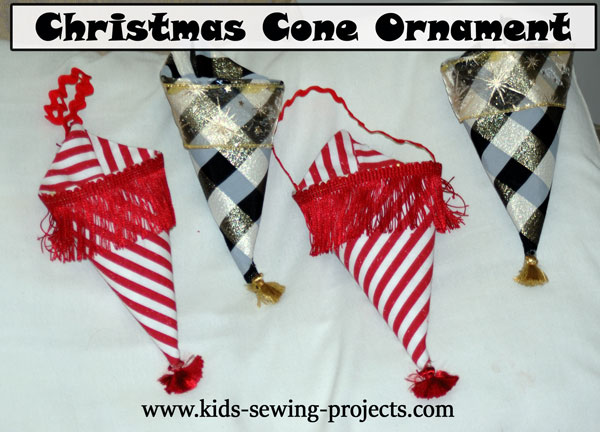
To make a Christmas Cone Ornament you will need:
- 5x5 square of fabric or a 10 inch square for a larger cone
- interfacing
- trim, ric a rac or other embellishments
Sewing Materials Available

Sew a Cone Tutorial Directions
Cut one piece of interfacing the same size as your material square. Iron interfacing on wrong side of material.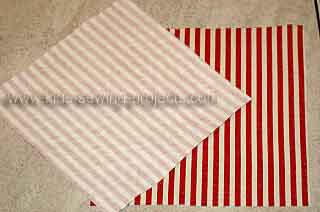
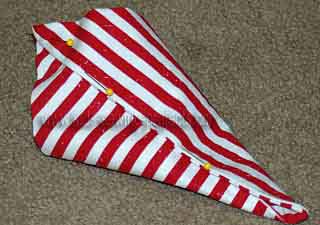
Fold top corner down to make triangle, placing right sides together.
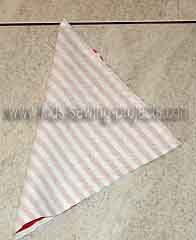
Sew edges leaving a small hole for turning inside out. Turn inside out.
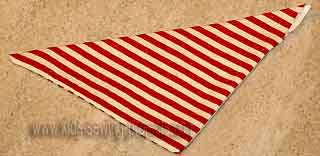
Sew shut. Iron flat. Bring edges together to make cone.
Hand sew side edges together. Decorate with trim and embellishments as you would like.
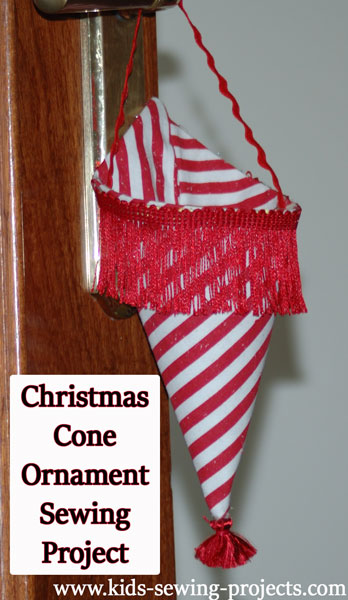
Glue ribbon to back of ornament or sides for hanging. Hang on tree or fill with small goodies for a Christmas present.
 This
project doesn't have to be for Christmas you can use all kinds of
material and use them for decorations or gifts. Another great idea
for these is to use them for parties as decorations or goodie
bags.
This
project doesn't have to be for Christmas you can use all kinds of
material and use them for decorations or gifts. Another great idea
for these is to use them for parties as decorations or goodie
bags. More Christmas Sewing Ornament Ideas
Christmas Tree Ornaments- use cookie cutters to shape your ornament designs.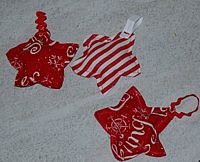
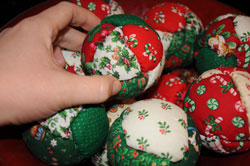
Christmas No Sew Ball Ornaments
Need more homemade Christmas sewing ideas?
Related Kids Lessons Projects:
~Kids Sew Lessons, ~Applique Shirt Project, ~Bath Mitt, ~Binder Cover,~Christmas Cone Ornaments,~Cloth Basket,~Cloth Basket Tray with Ribbon Corners, ~Cloth Dinner Napkins or Bread Cloths,~Easy Sew Curtains,~Fairy Costume, ~Headbands,~Jean Skirt,~Pillowcase Skirt, ~Prairie Points,~Sew Purse, ~Recycle Your Old Tie Projects,~Reversible HeadBands, ~Shirt into Shorts Project,~Shirt and Transform it into a Dress,~Tie Pillow, ~Tie Skirt,~Tiered T-shirt Skirt, ~Wall Hanging, ~Shorts, how to sew, ~Entertainment Bag
Follow Kids Sewing Projects


[?] Subscribe To This Site

Copyright 2007-2024, Debbie Madson, Madson Web Publishing, LLC
All rights reserved.
The material on this site is for educational purposes.
Nothing on this page is public domain.

All rights reserved.
The material on this site is for educational purposes.
Nothing on this page is public domain.